Showing posts with label 15mm. Show all posts

Thursday, January 8, 2015

15mm NSL (Neu Swabian League) Panzergrenadiers and apparently new sculpts too.

I bought several packs of these.  I am not going to use them as NSL.  I bought them because I really liked the look of them.  I am going to use them in some games of Tomorrow's War.  As I said in earlier post, I will running a game in just a week from Saturday January 10th.   I am not sure if the powered armor will be part this game or not, but now that some are painted I have that option.  I painted them Vallejo US Olive Drab.  I then dried brush them with a mixture of Vallejo White and again the Olive Drab.  I then painted the view port silver.  I then applied a final coat  on the view port  of Vallejo Green Translucent Paint.  I then put on a mixture of Future Floor wax and DiDi's Magic Ink.  I keep on forgetting that all the decals that have gone on my vehicles and now troopers are made by I-94 Enterprises, sorry Dave.
I think they turned out quite nice.

Thank you for reading.

Mike

Sunday, January 4, 2015

Some prep work for a Tomorrrow's War that I am runnung in two weeks.

A couple of buildings from GZG.  These will be the objective, specifically destroying the satellite up-link.
The powered armor is NSL "PKaZ" (PanzerKampfanZug) Powered Armour Troops and the quad mounted gun is by GZG also. 

I have not written the scenario yet, so I am unsure if the powered armor will be in the scenario or not.  We will be playing on the 17th, so expect an AAR a couple of days later.  I will also post the scenario.  If anybody lives in southeast Michigan or northwest Ohio, you will be more then welcome to attend.  Just let me know and I will provide the particulars. 

Thank you for reading.

Mike


Wednesday, December 31, 2014

Trees for the gaming table on the cheap

I was walking through a local craft store after Christmas and happened onto their clearence area with all the Christmas leftovers.  I happened onto a fake evergreen garland.
It was a $1.50 and it occurred I could use the sprigs for making trees for 3/6mm or small trees and brush for 15mm.   You will need a few things, wire cutters to remove the sprigs from the garland. Something to base them on, I used fender washers and something to make the foliage  adhere to the washer.
I used Milliput for the adhesive and it made a little contour on the washer.  I also paint my washer black.  I think when they are plain steel, the washers stand out too much  Just put a small amount of Milliput on each washer and start sticking those sprigs.  I then applied glue and dipped the base in flocking.
The following photo is the result of less then an hours work.  Also the photo that I took of the garland had all of the trees that I made and then some.  I ran out of Milliput.  I think I can get two to three hundred trees out of the garland.
That is a lot of trees for not much money. 

Thank you for reading.

Mike


Sunday, December 28, 2014

Some of my haul from GZG, part Deux

The following photos are of two vehicles, the first is the  6-Wheel Light Scout MICV with manned turret.  Both vehicles are painted Khaki by Vallejo.  A gloss lacquer applied and after that a dark brown wash by Vallejo.  I then applied  a matte coat.
The second vehicle is the Bobcat 4-wheel HMLCV (High Mobility Light Combat Vehicle) with auto-cannon turret.
The last photo show the comparative size to each other and to a Vallejo bottle.


Thank you for reading.

Mike


Wednesday, December 24, 2014

Some of my haul from Ground Zero Games year end special.

As everyone can attest, GZG gives outstanding service and with the end of the year special it is a great value too.  I am sure he works like a dog when the special runs.  I got the package in about five days from when he stated that it was being shipped and I live in the USA.

The first miniature is the  MRAP-C light armored patrol vehicle.  One has to have something to haul ones troops about.  It is of metal construction and I used ten parts, I did not use the large brush guard that was included.  I primed with Vallejo white primer and the overall paint is Iraqi Sand by Vallejo.  The windows, and lamps were painted with silver.  I let that dry and I used Blue, Red and Yellow clear paint by Vallejo.  I coated the miniature with a coat of gloss lacquer, I think I was using Rustoleum.  I use the brand that is on sale when I walk into the store.  I then put a black was of Future floor wax and DiDi's Magic  Ink.  I left them quite dirty from the wash.  I wanted them to look grimy from hard use.  I then put a coat of Testers Matte Spray.
The other vehicle was from the free grab bag that was sent to me with the year end sale.  It is unreleased MRAP "Shorty".  I painted it the same way as the previous miniature. The first photo shows the size of this miniature comparative to a Vallejo bottle.
The last photo shows the comparative size between the two miniatures.
A word of warning, there is a lot of filing to be done on these miniatures to make them fit together.  There is a lot of gaps in the miniatures too.  I used quite a bit of filler to hide the gaps and seams.  It took a bit of work, but it is worth it.  These miniatures are great and I know in the future, I will be awaiting the postman knowing that more of these great miniatures will be in the post.

Thank You for reading.

Mike


Thursday, December 18, 2014

Hesco Barriers and Jersey Barriers from Gamecraft Miniatures

I recently purchased two packages of Hesco Barriers and one package of Jersey barriers in 15mm from GameCraft Miniatures .  The website is well laid out and the transaction was very easy.  The product came fairly quickly.  Quite quickly in fact, as I am sure this is a side business.  GameCraft Miniatures have a wide variety of products available from 3mm to 28mm.

I purchased the twenty four pack of concrete barriers. They are a white resin with a little bit of flash along some of the bottom edges.  A finger nail took it right off.

They paint up pretty well, the only disappointing part of this package is that two were a bit bent.

I did not contact them about the bent pieces, but I expect they would have mailed replacements.
I also bought two packages of Hesco barriers that contain six each. 


There a few that are smooth on one side as opposed to having two sides etched.

These I presume are when one wants to have it two deep.

 I have my eye on quite a bit of there products and I am sure that there are more transactions with GameCraft Miniatures in my future.

Thank you for reading.

Mike


Saturday, November 22, 2014

My 15mm miniatures now have bases.

 I wanted to use washers for the bases of my 15mm troops.  I did some research and it was suggested  fender washers are the best, the hole in the center is smaller.  And the size that wash was suggested was 3/4 inch.  I went to our local building supply big box store(Lowes).  I priced the washers and I said to myself, "self there has to be a cheaper source on line".  I posted on The Miniatures Page, a query on a online washer resources.  Rodrick Campbell sculptor and owner of Highlander Studios, Inc.  

Rodrick suggested that I use Bolt depot .  He was right.  I got 1,000 for $32, including shipping.   I ordered them on the evening of the 19th and they arrived on my doorstop on the 22nd.


So I have a butt ton of washers now,  I got them cheap though. 

Thank you for reading,

Mike

Monday, November 17, 2014

Khurasan Miniatures finished, or two out of three ain't bad

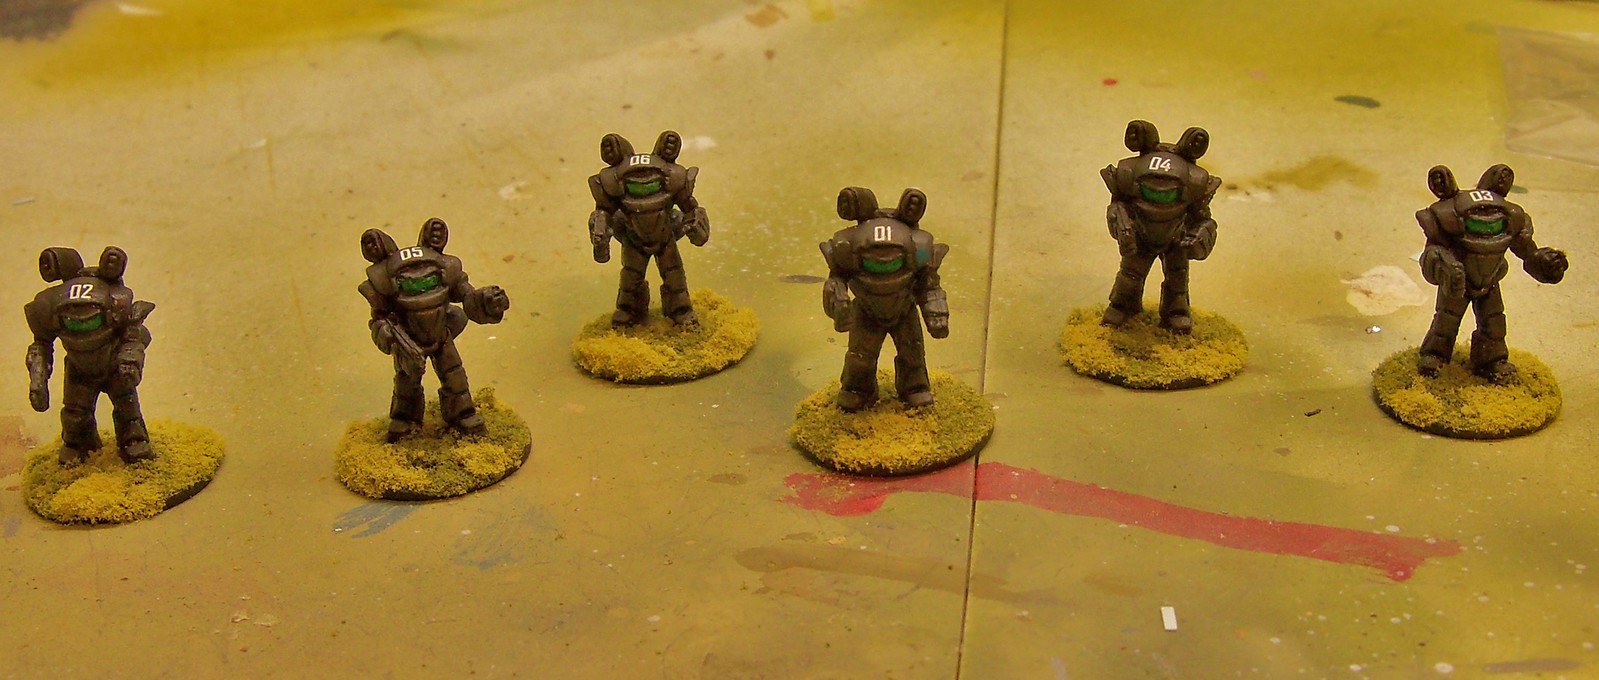
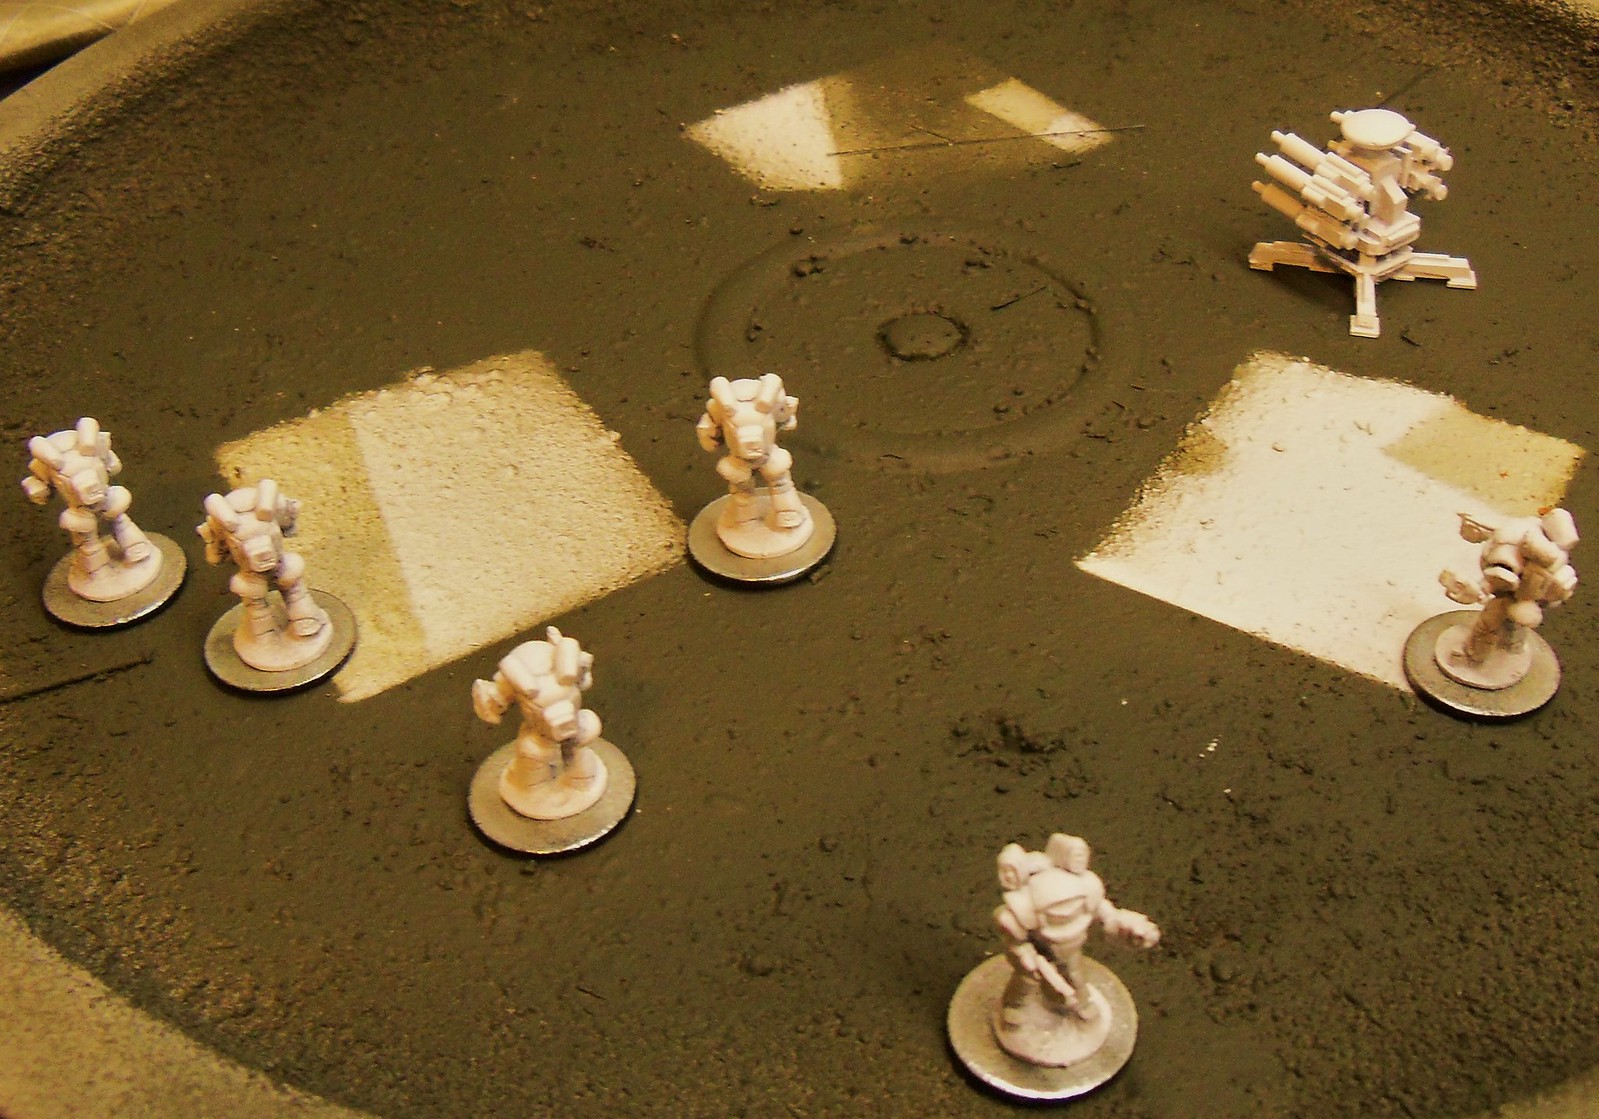
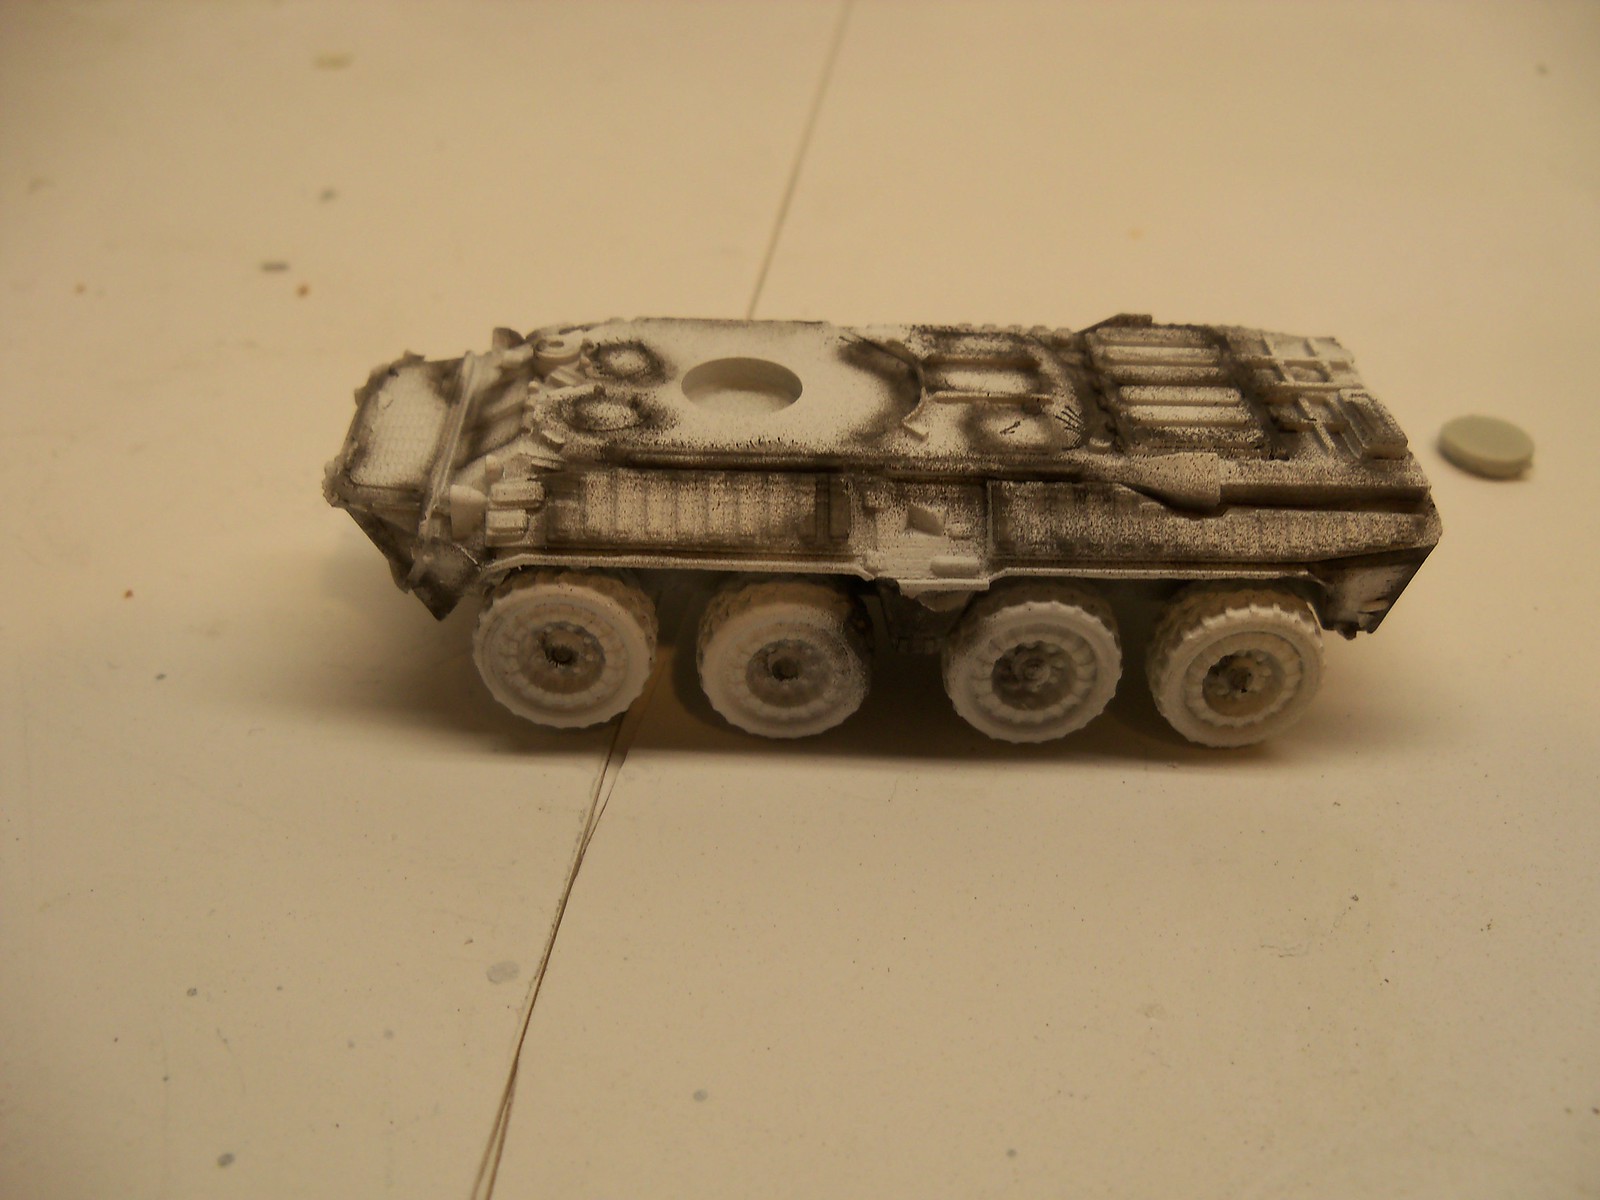
 In an earlier post I stated that I was going to show you all the finished miniatures I am done with two of the the three vehicles.  The Nova Respublik BTR3000 wheeled APC camo scheme that I painted, Idid not like.  I stripped the paint off of it.  The stripping  and painting process will be on a later post.  In regards to the stripping of the paint.  I will be doing a comparison between Simple Green and Purple Power in an upcoming post.  So a few photos of the BTR will show up and a little commentary too.

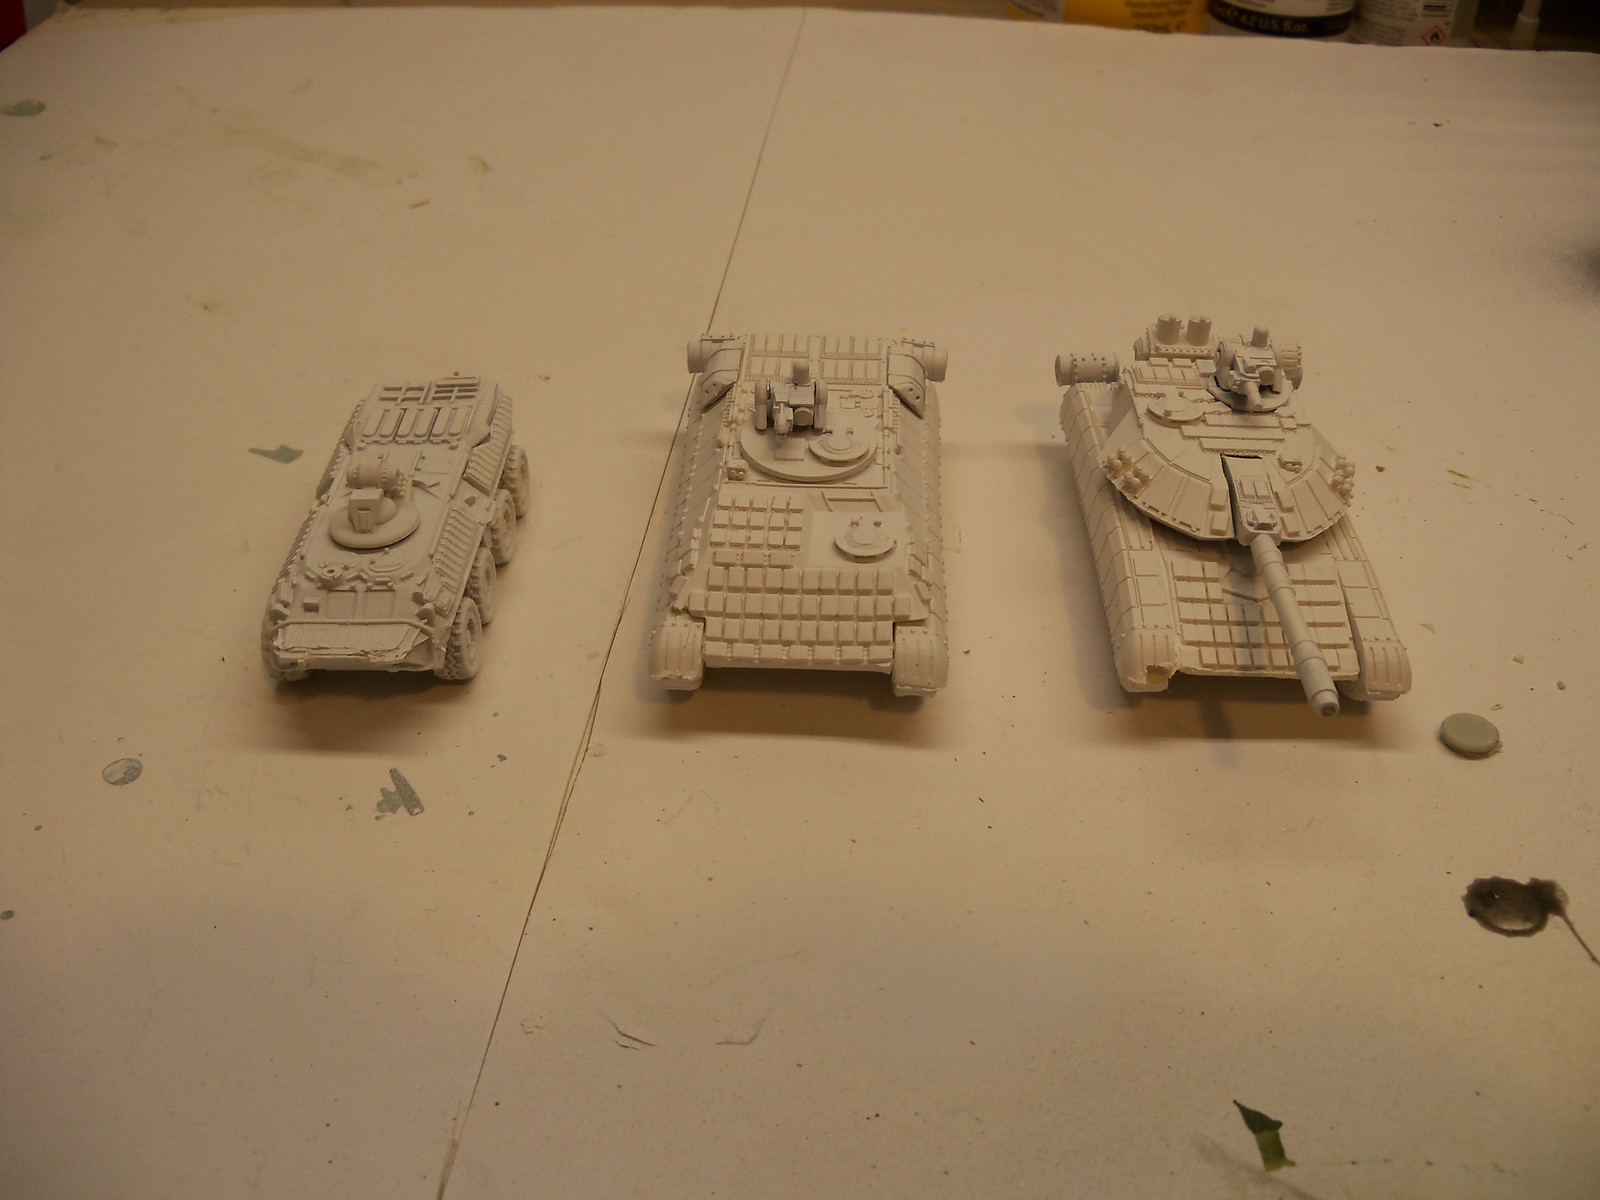
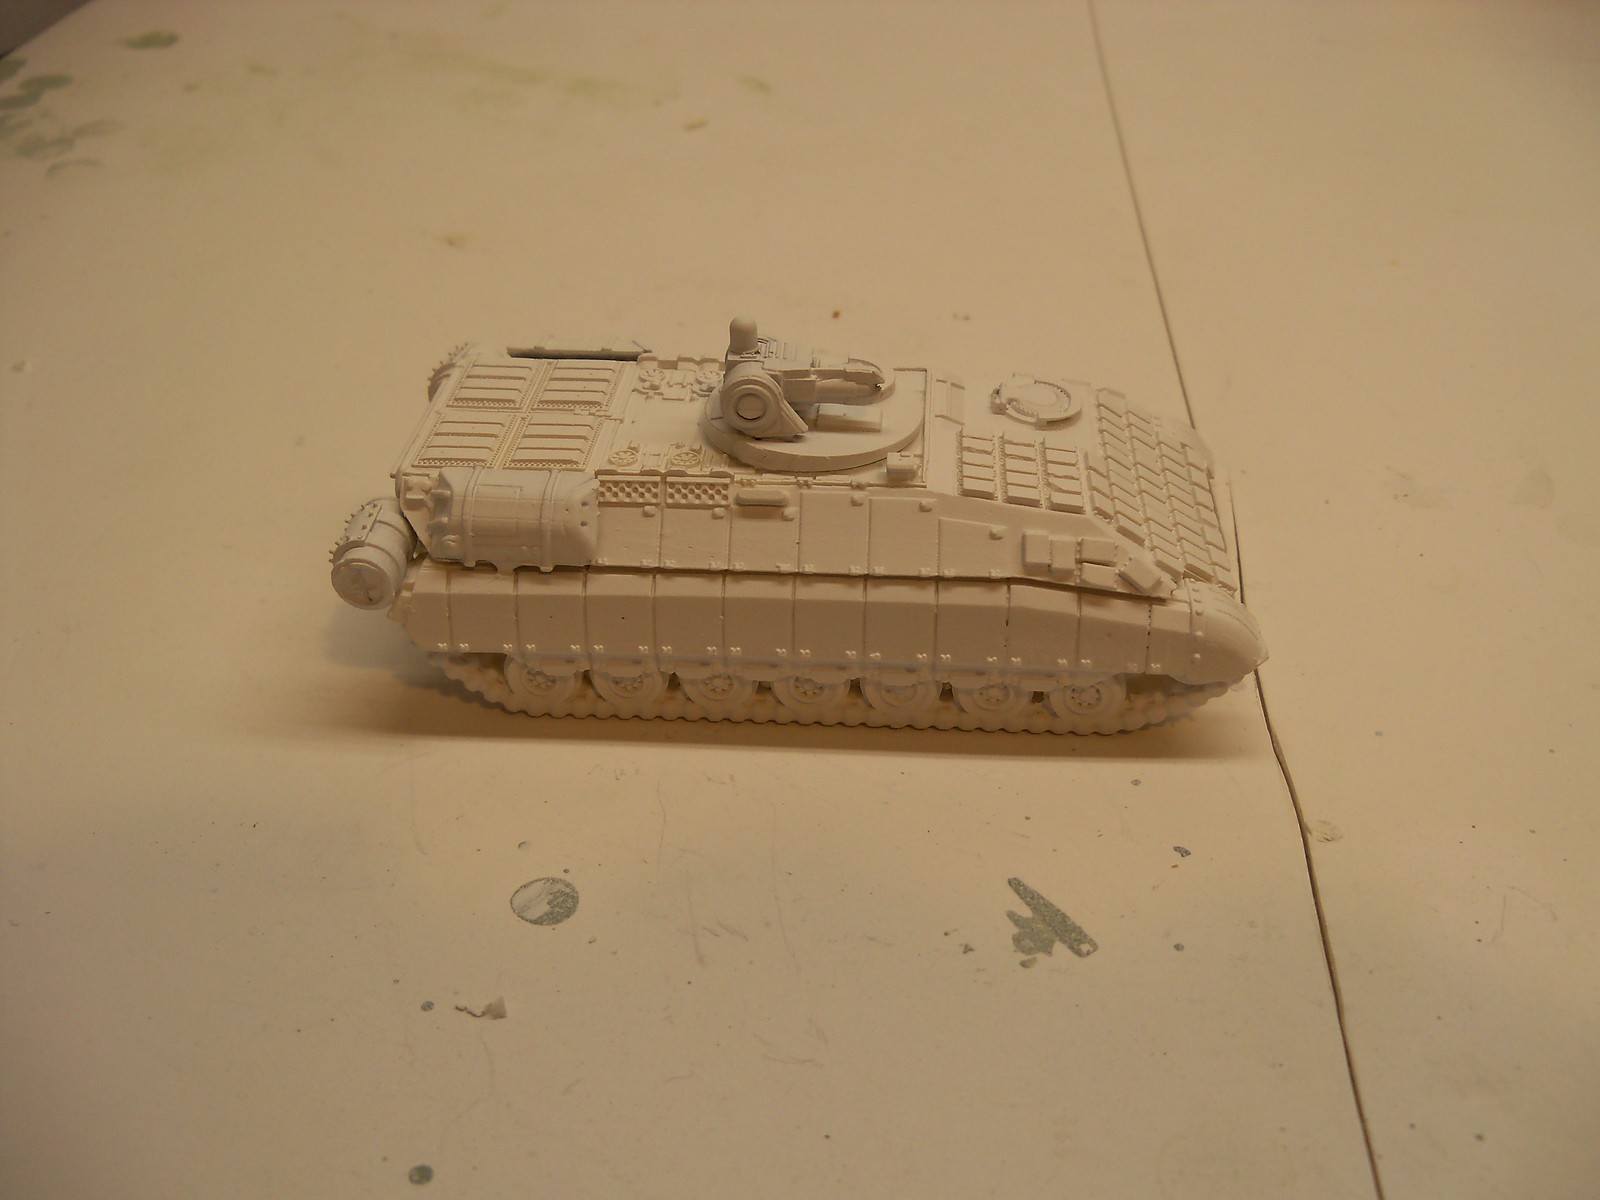
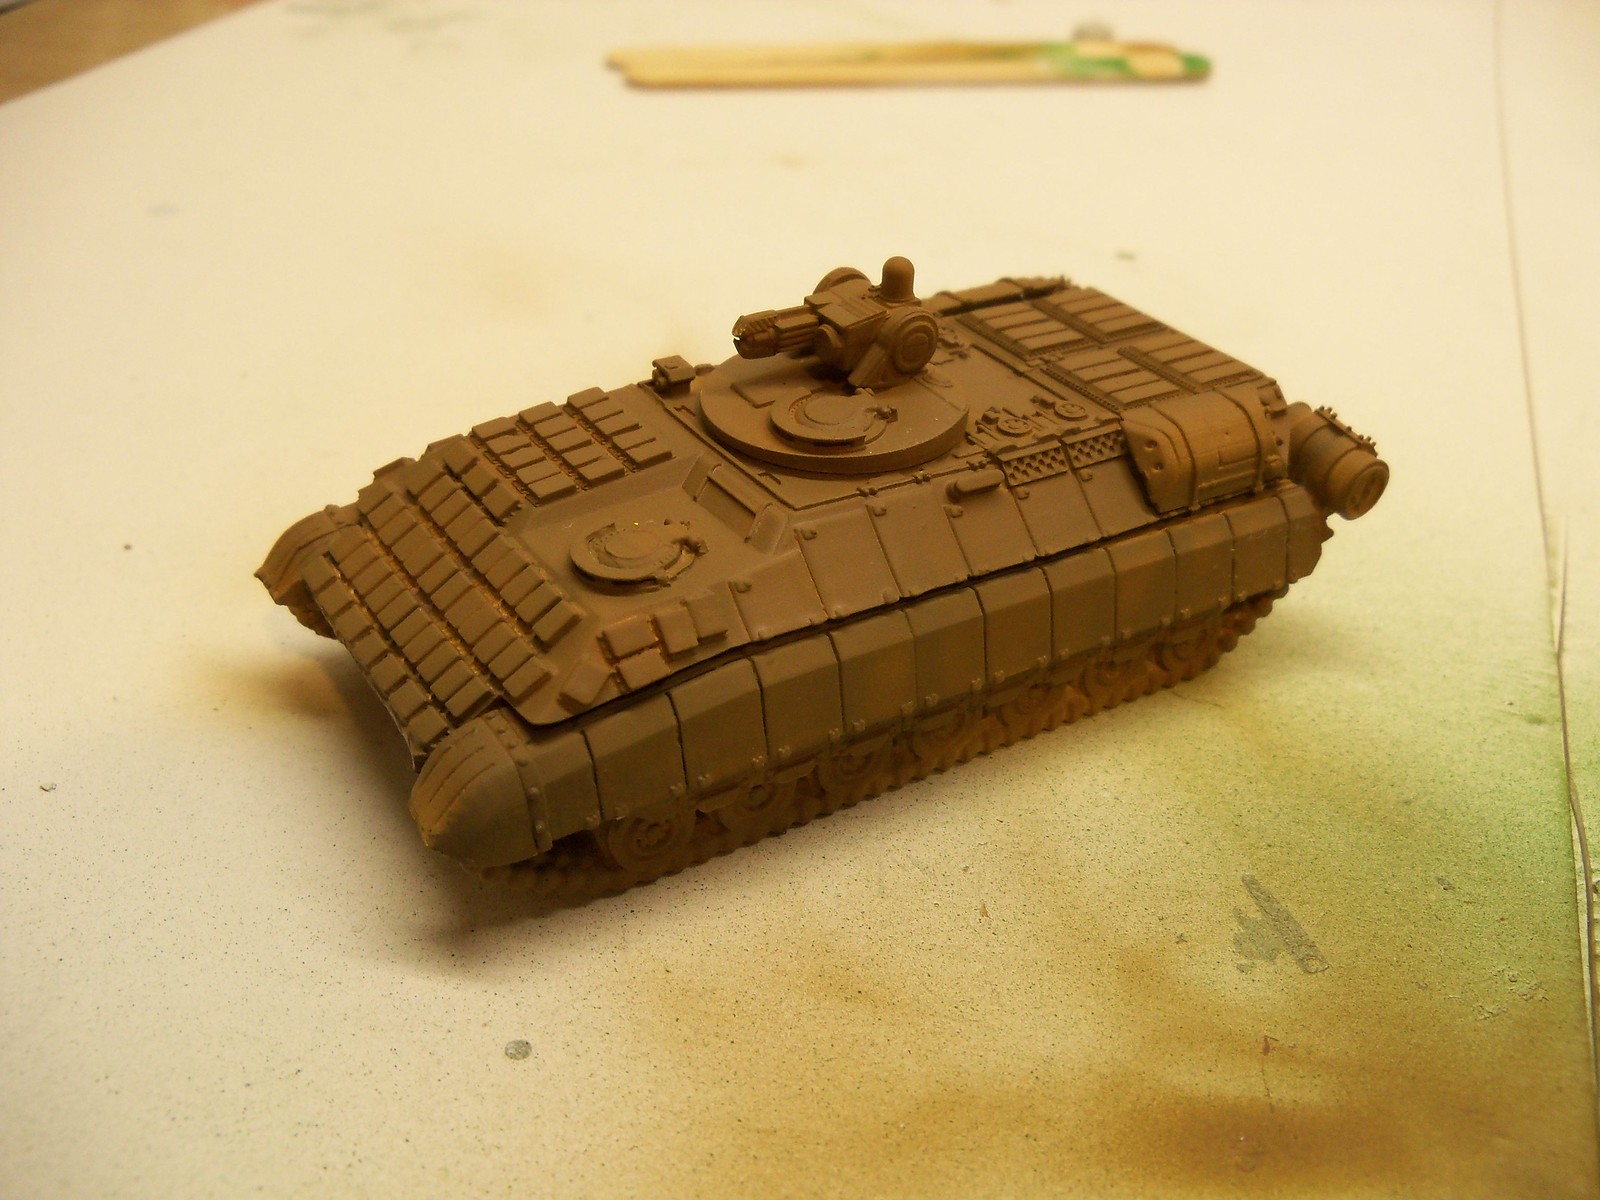
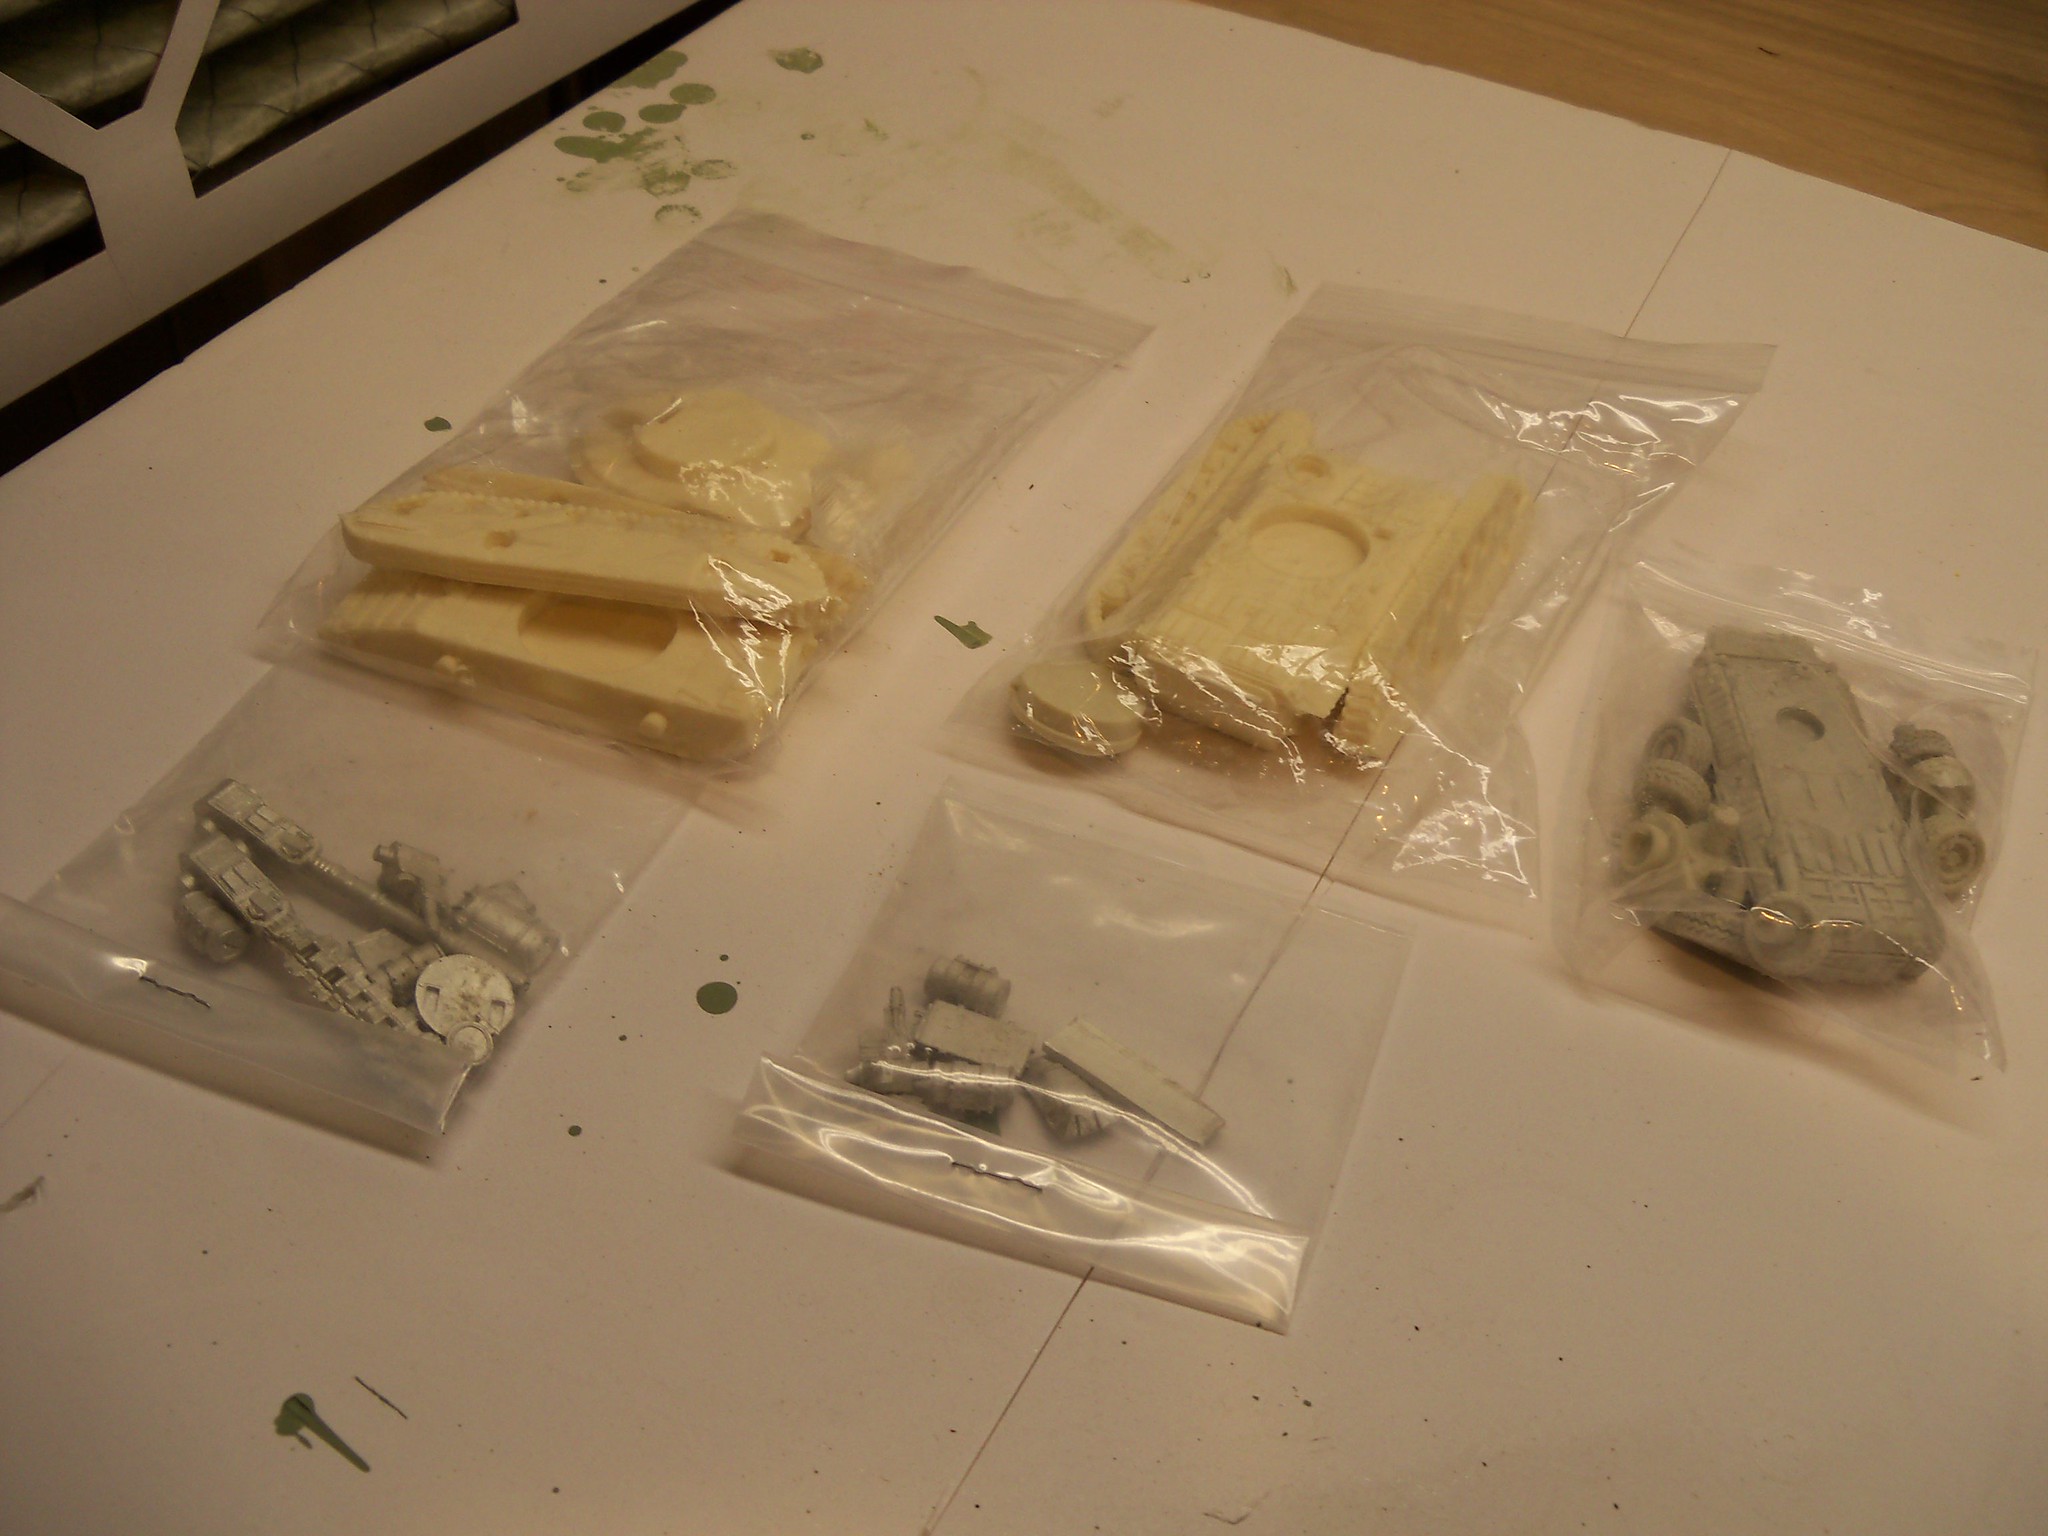
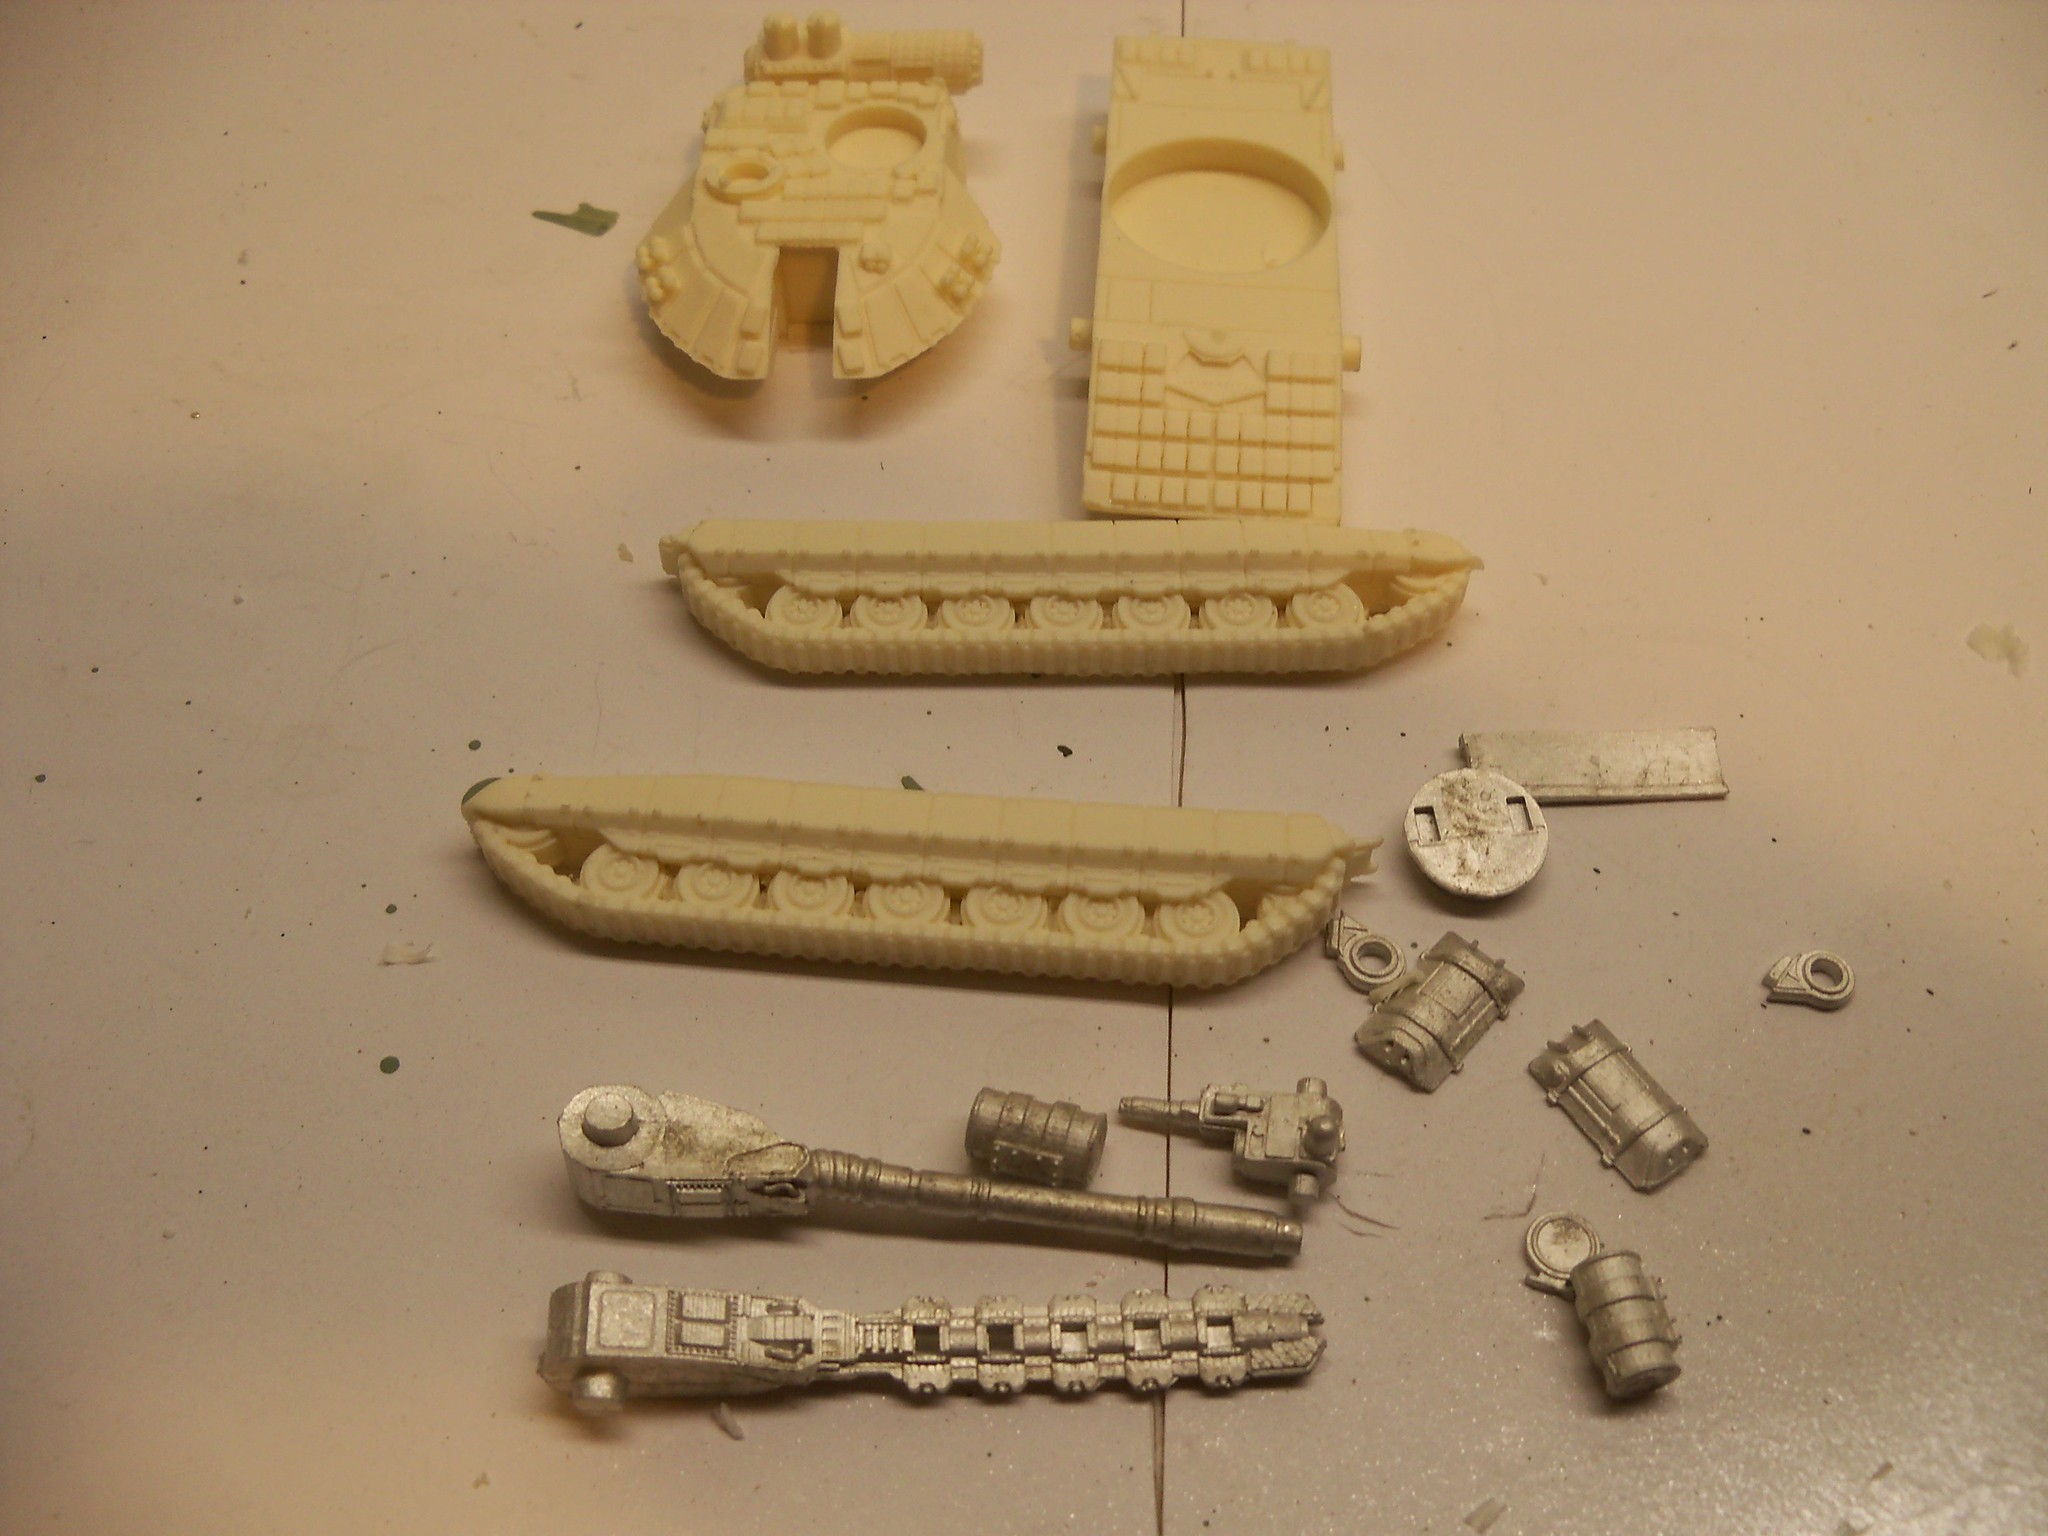
Assembly was quite easy, the first photo is of the    15mm Grifon-T Advanced Tracked APC, mostly assembled.

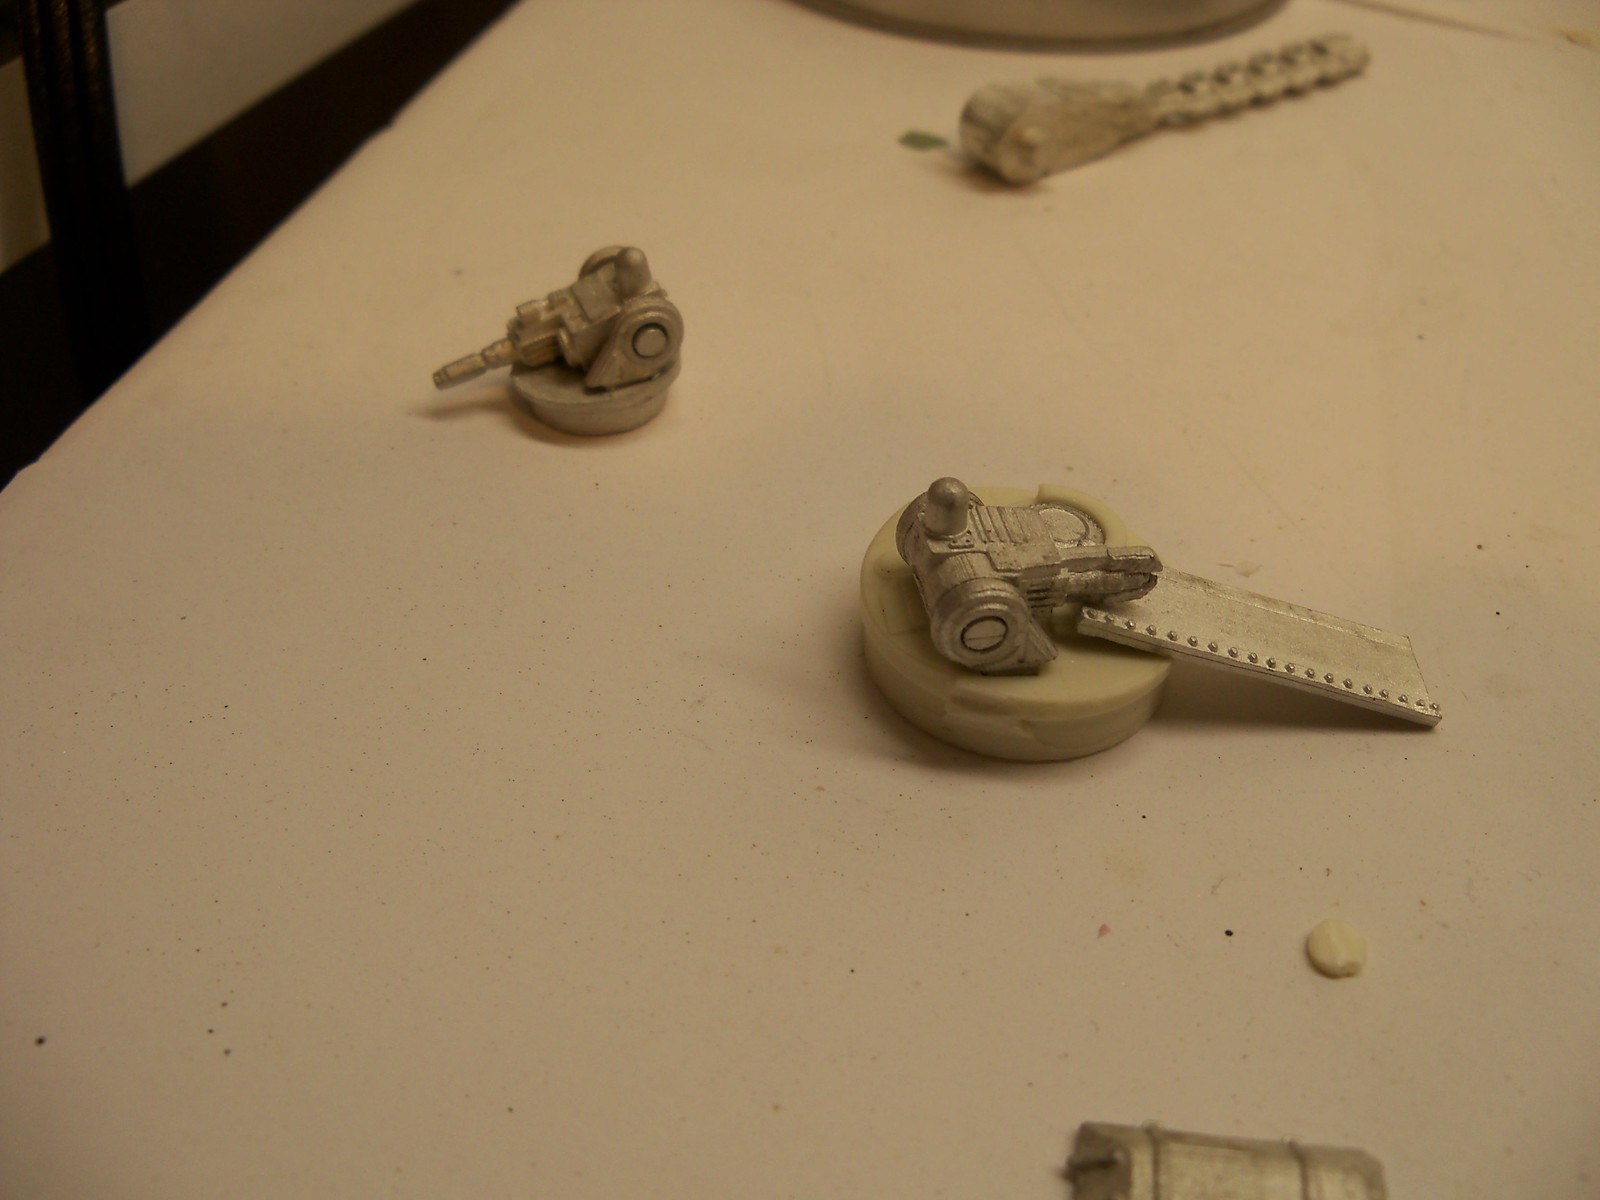
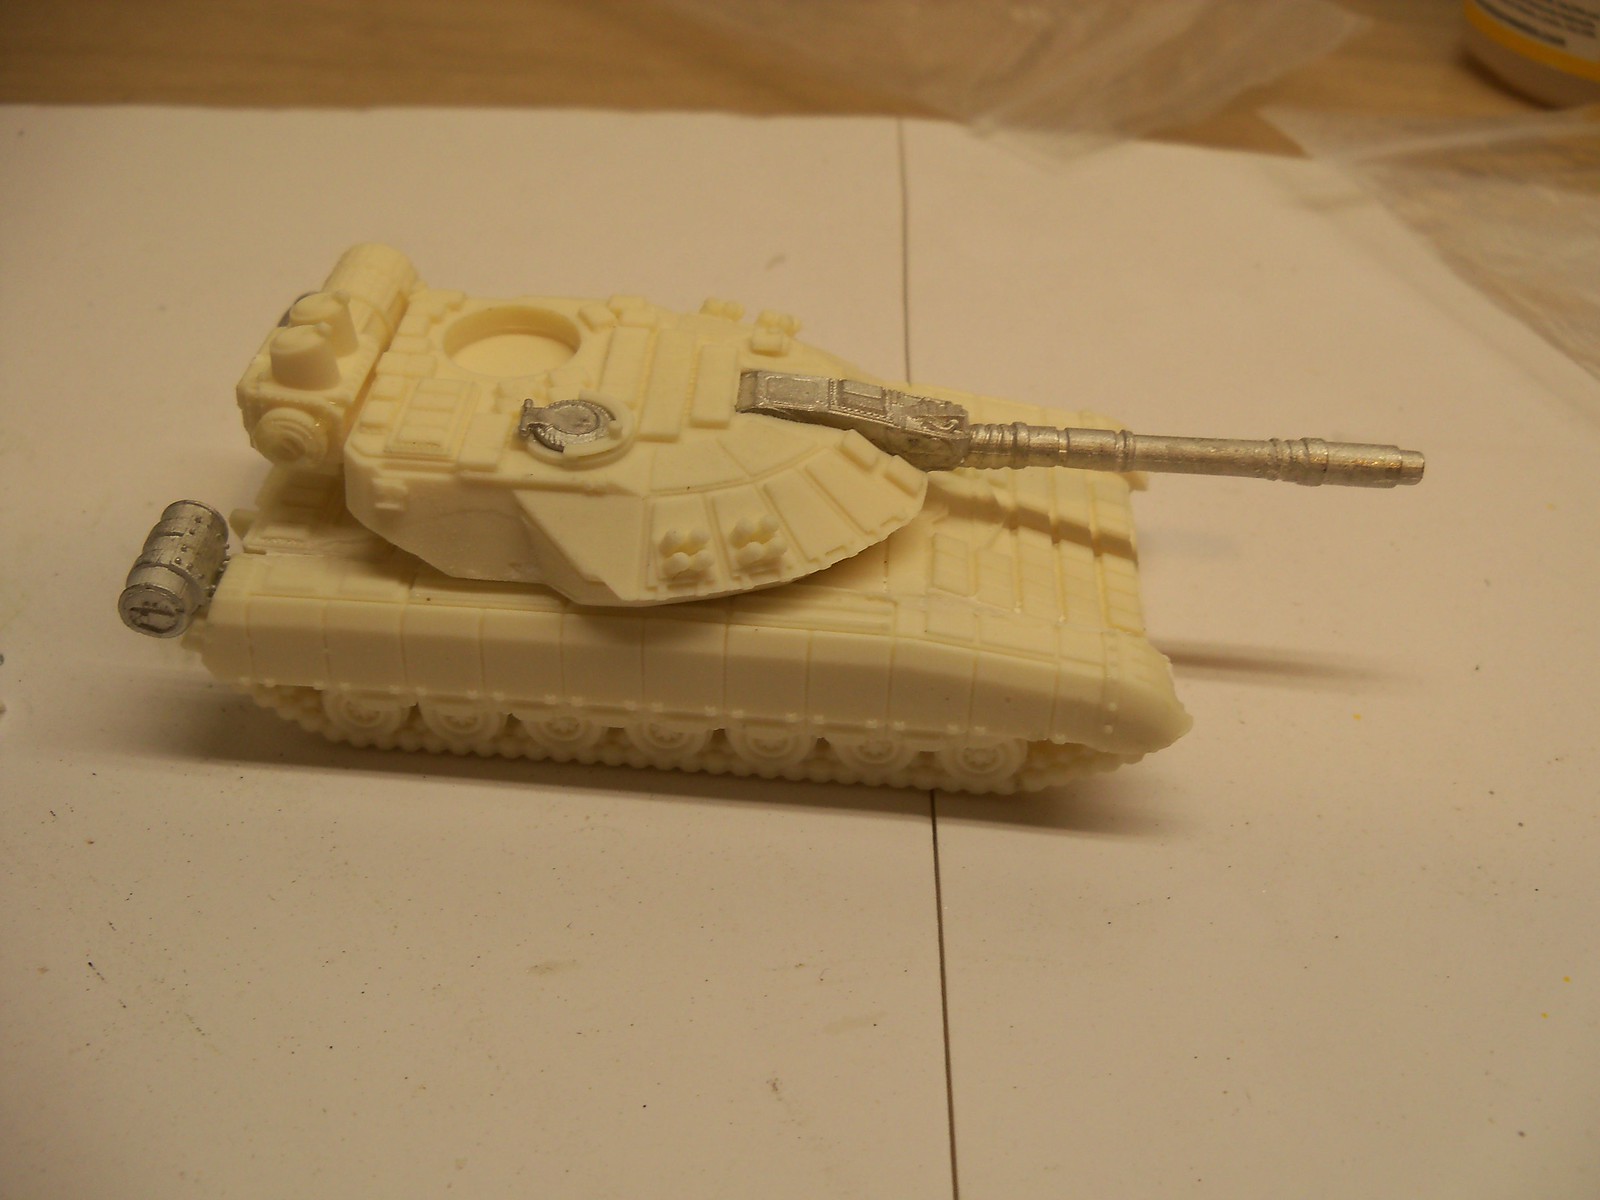
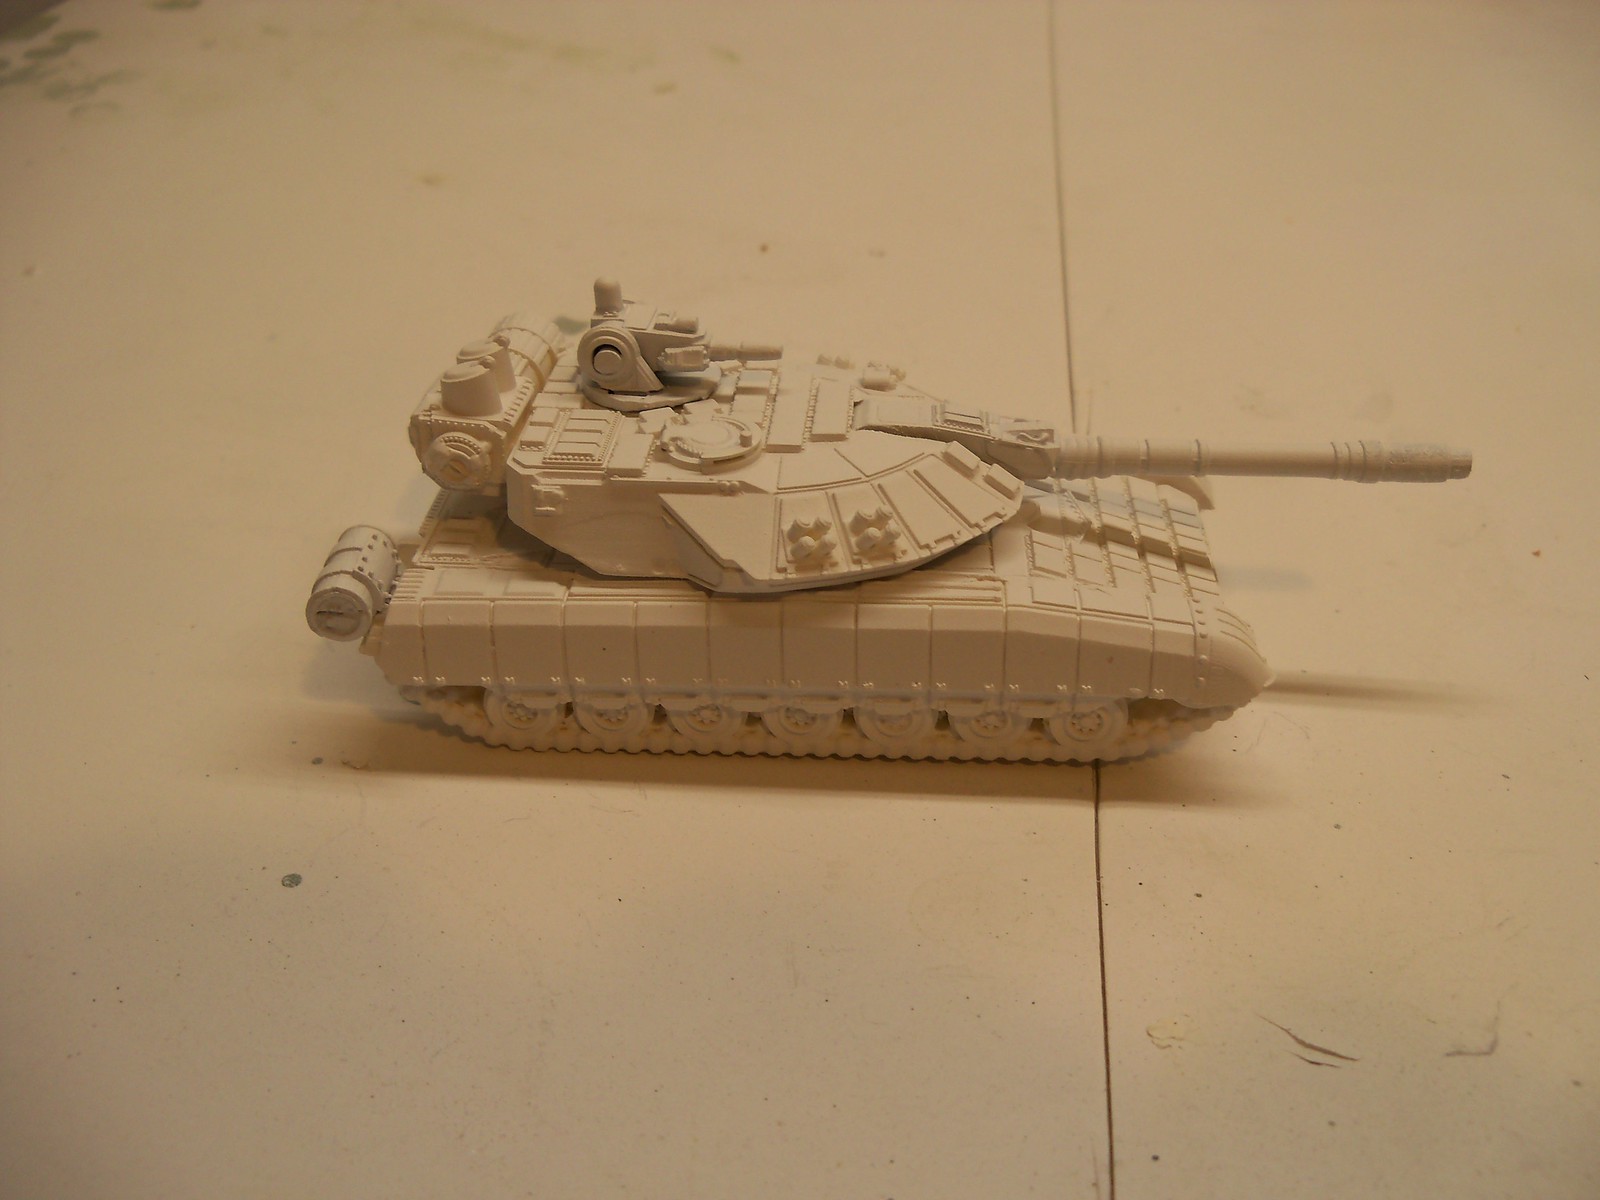
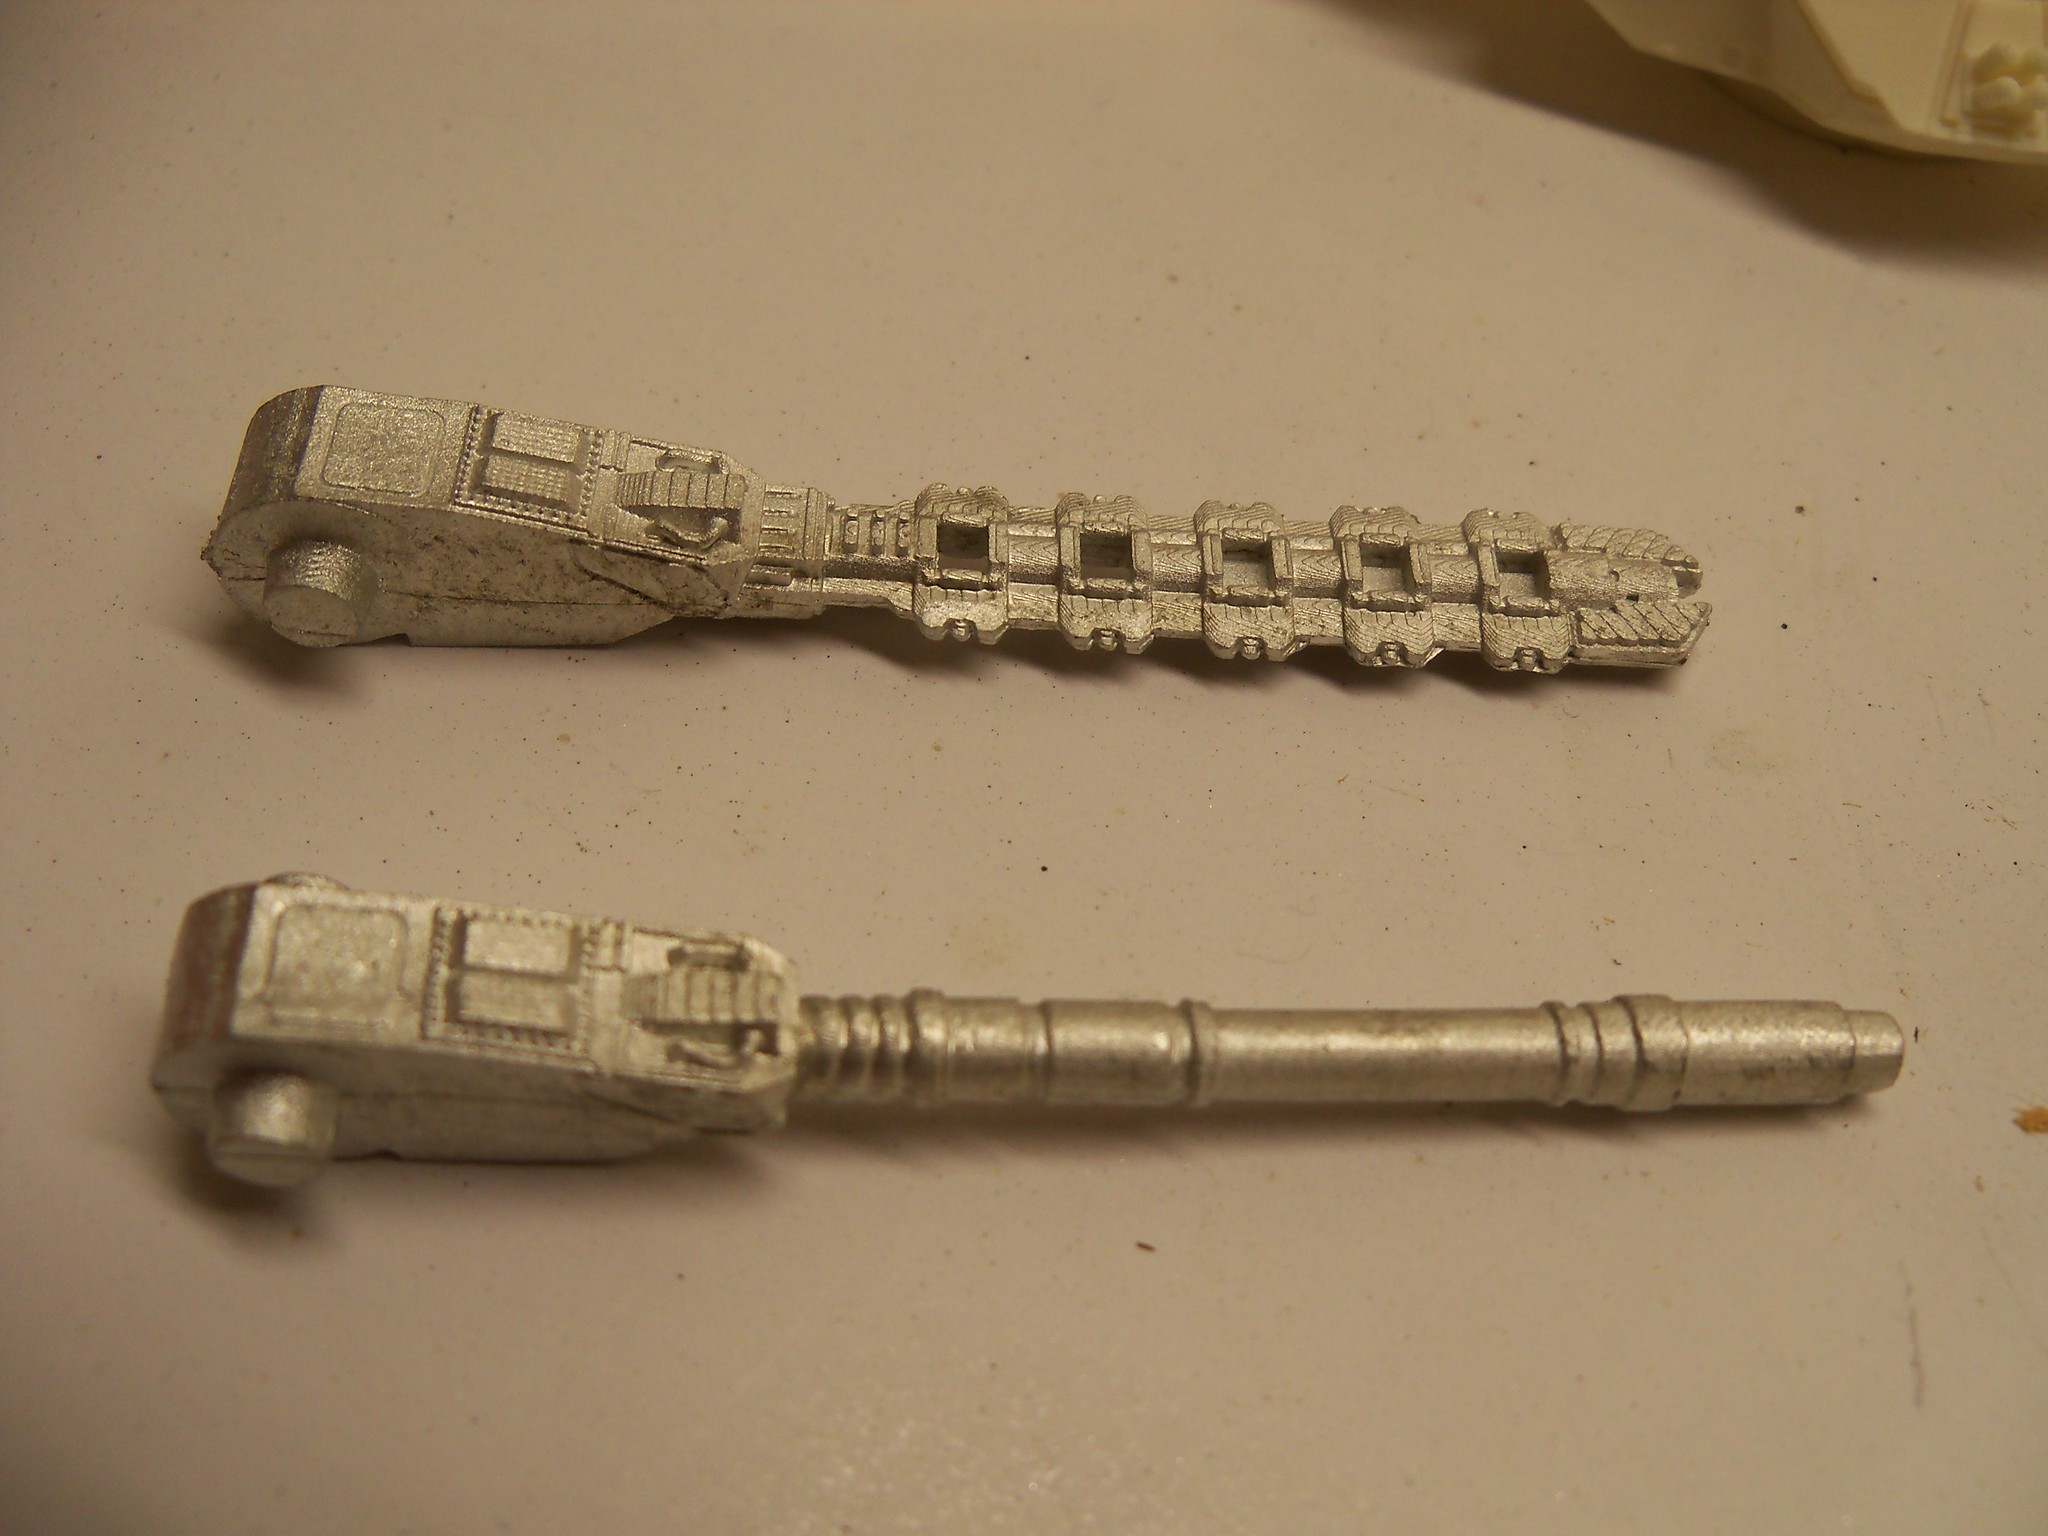
The weapon assembly was straight forward too. You can see the Drakon's secondary gun is in the background. 


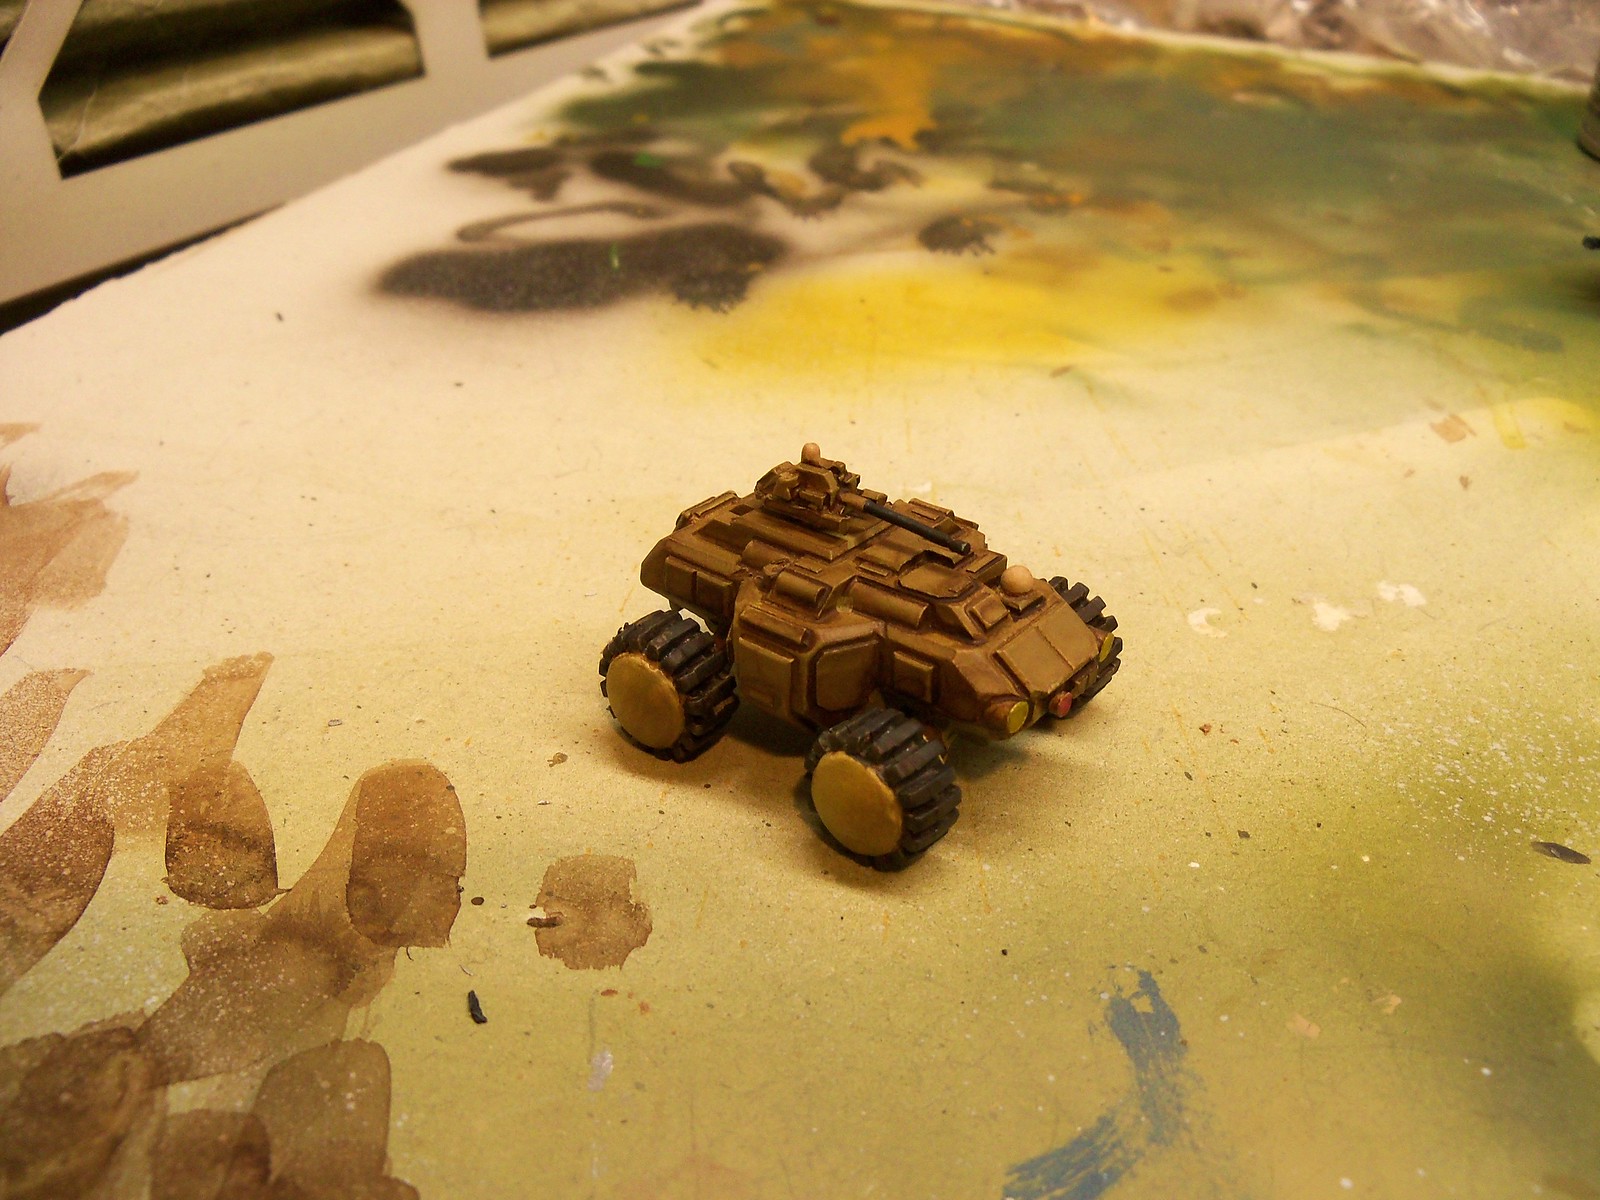
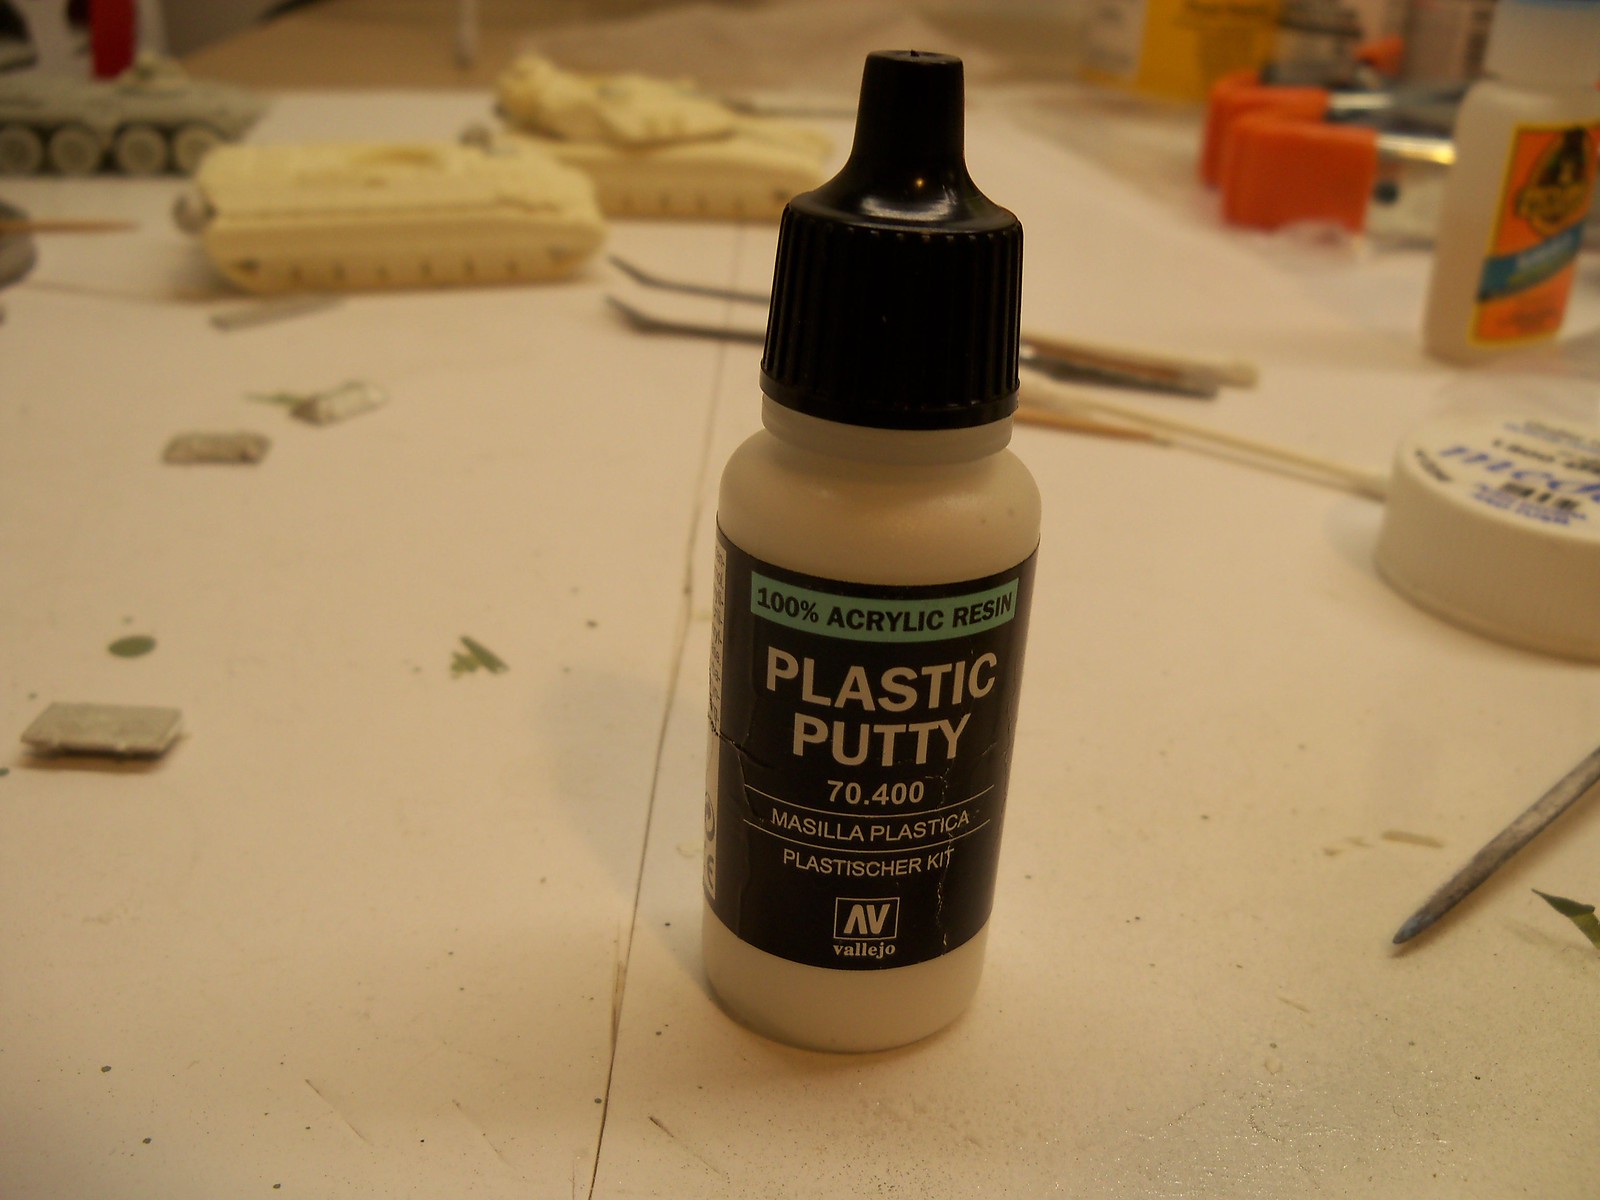
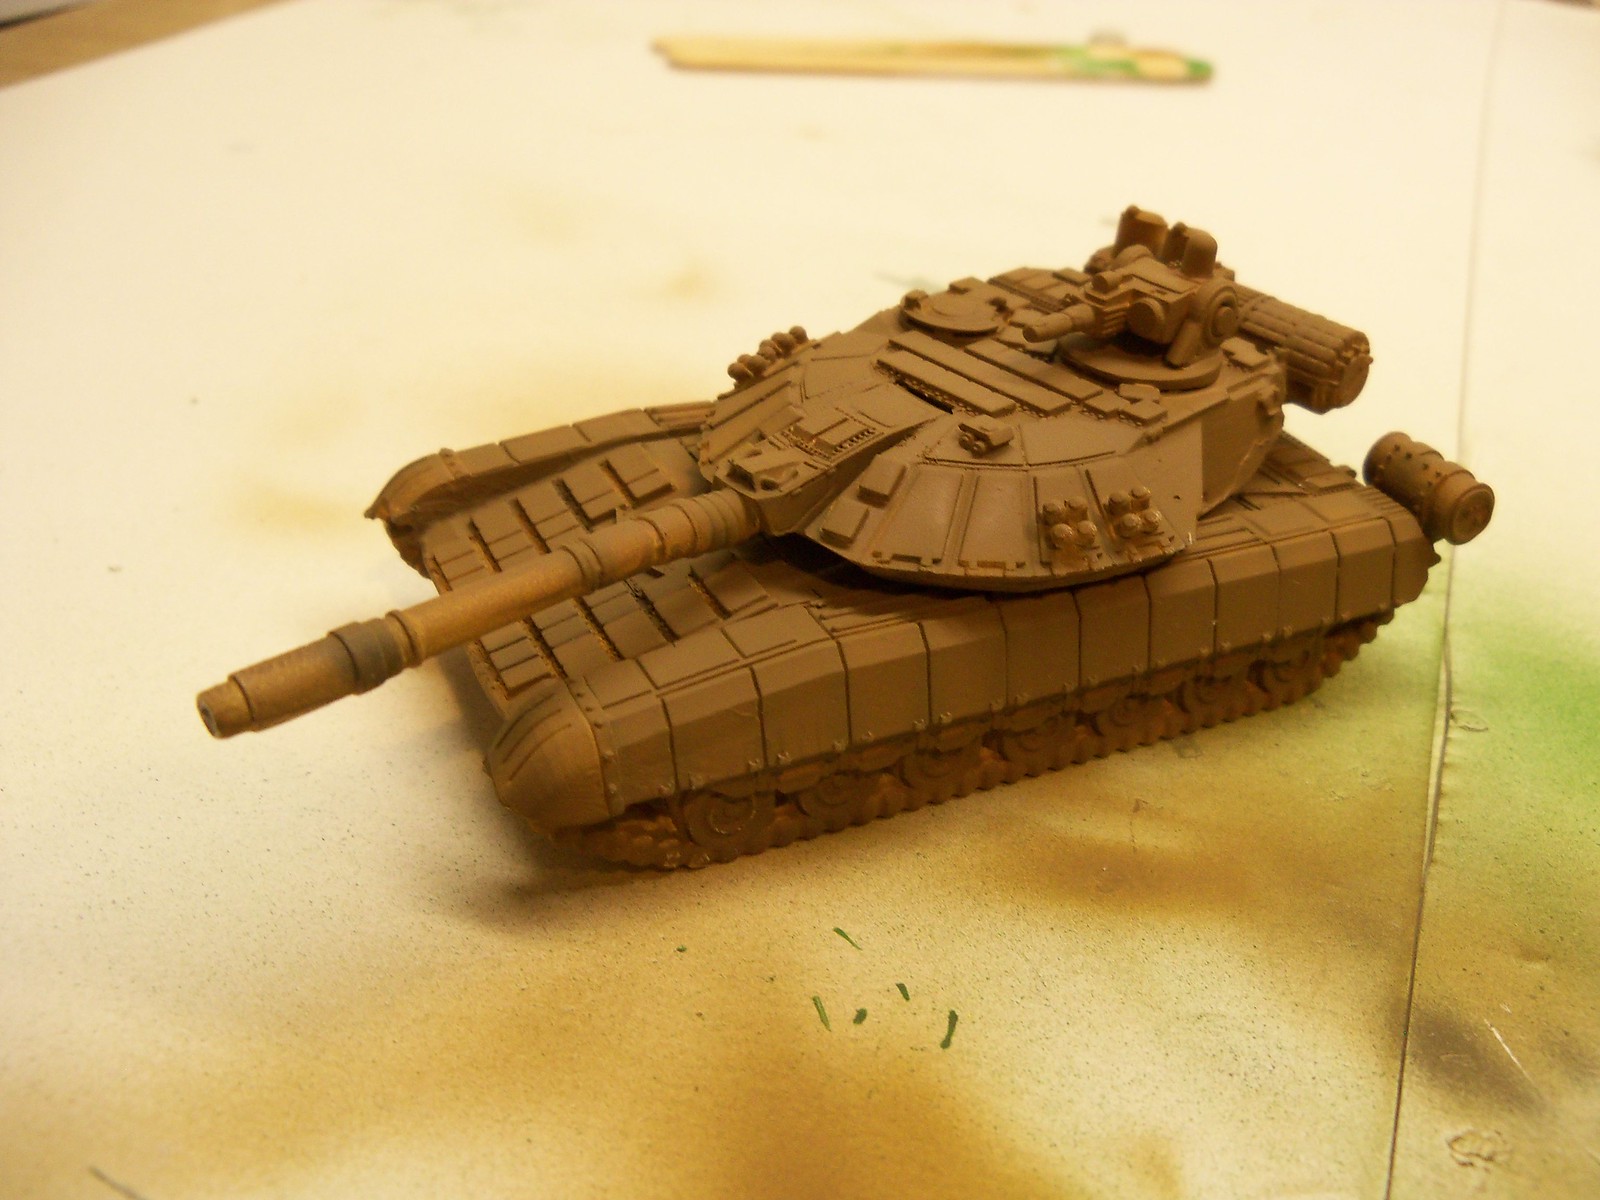
Here are several photos of the Drakon assembly.  A couple of things to note and I did not notice it at once.  There was an air bubble on the right side track housing and it left quite a hole.  I am sure that I could have gotten it replaced, because Khurasan Miniatures would just do that.  It then occurred to me, I will use it as battle damage.  I just had to build up the track on the inside.  Also the fit was not perfect, it had a little gap.   But a little plastic putty filled it right in. This took me all of two minutes.


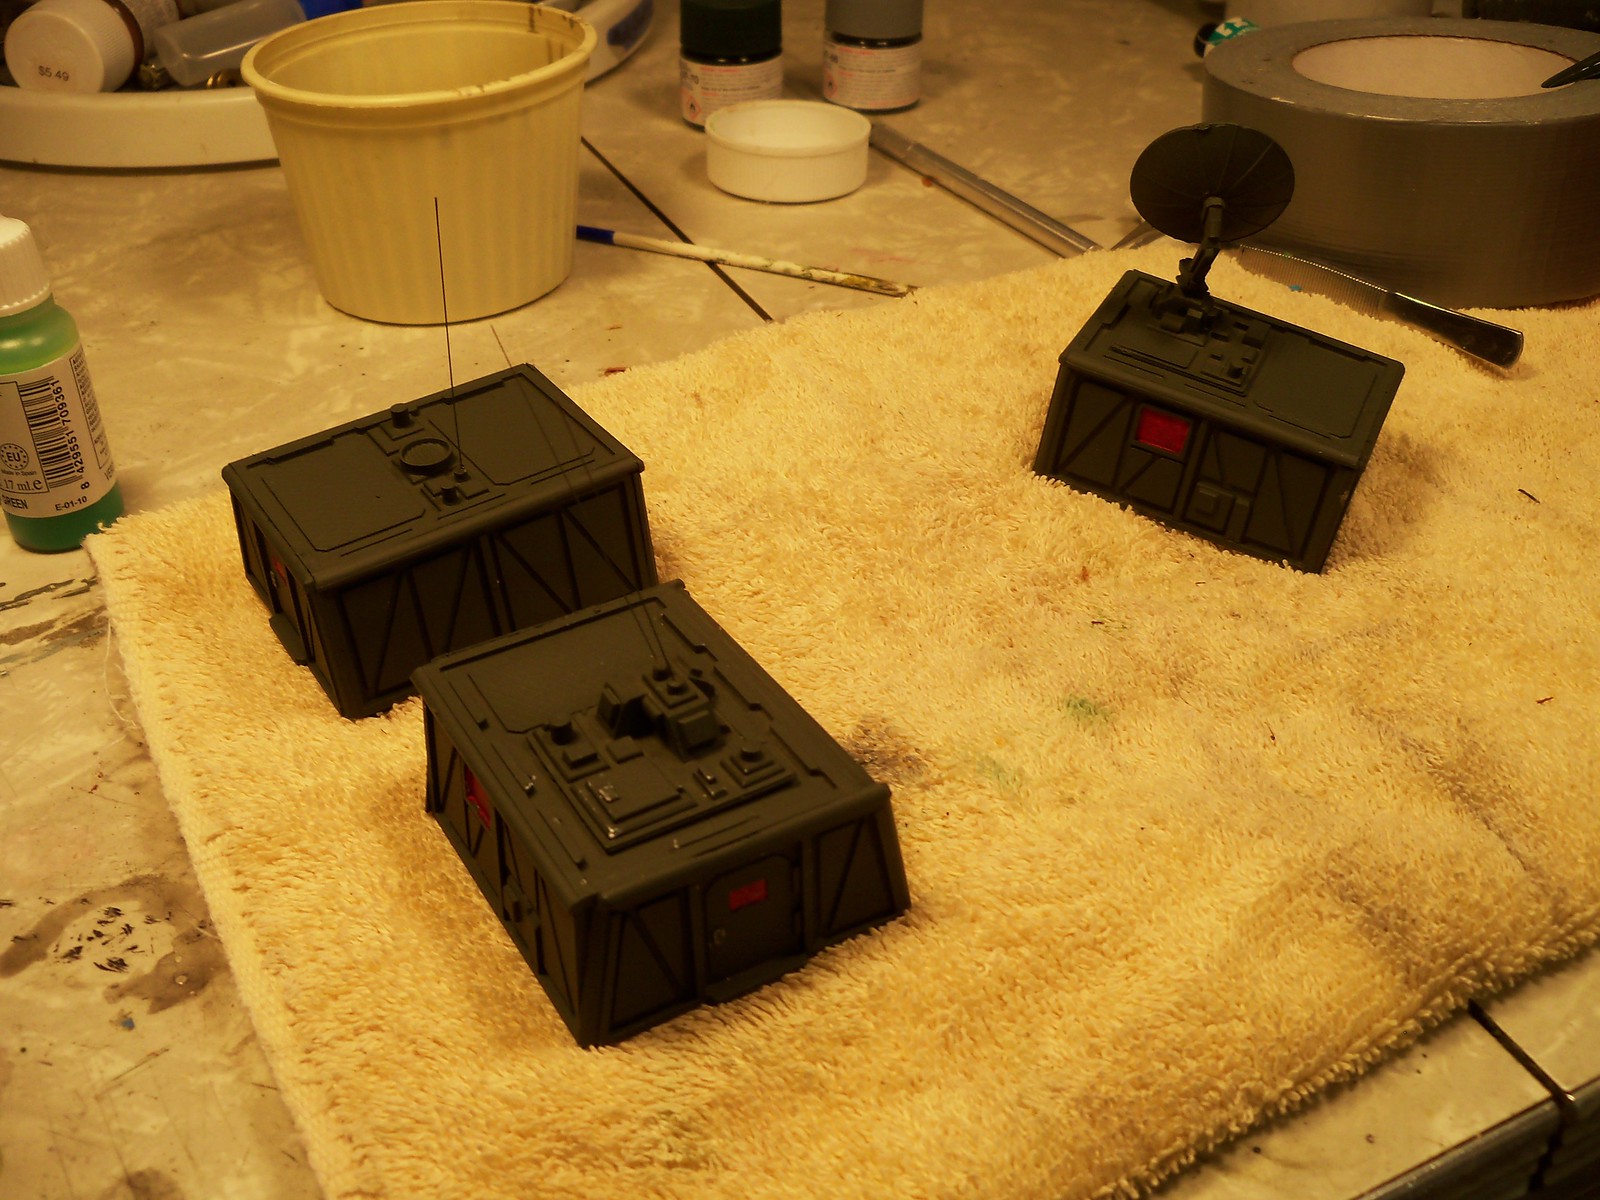
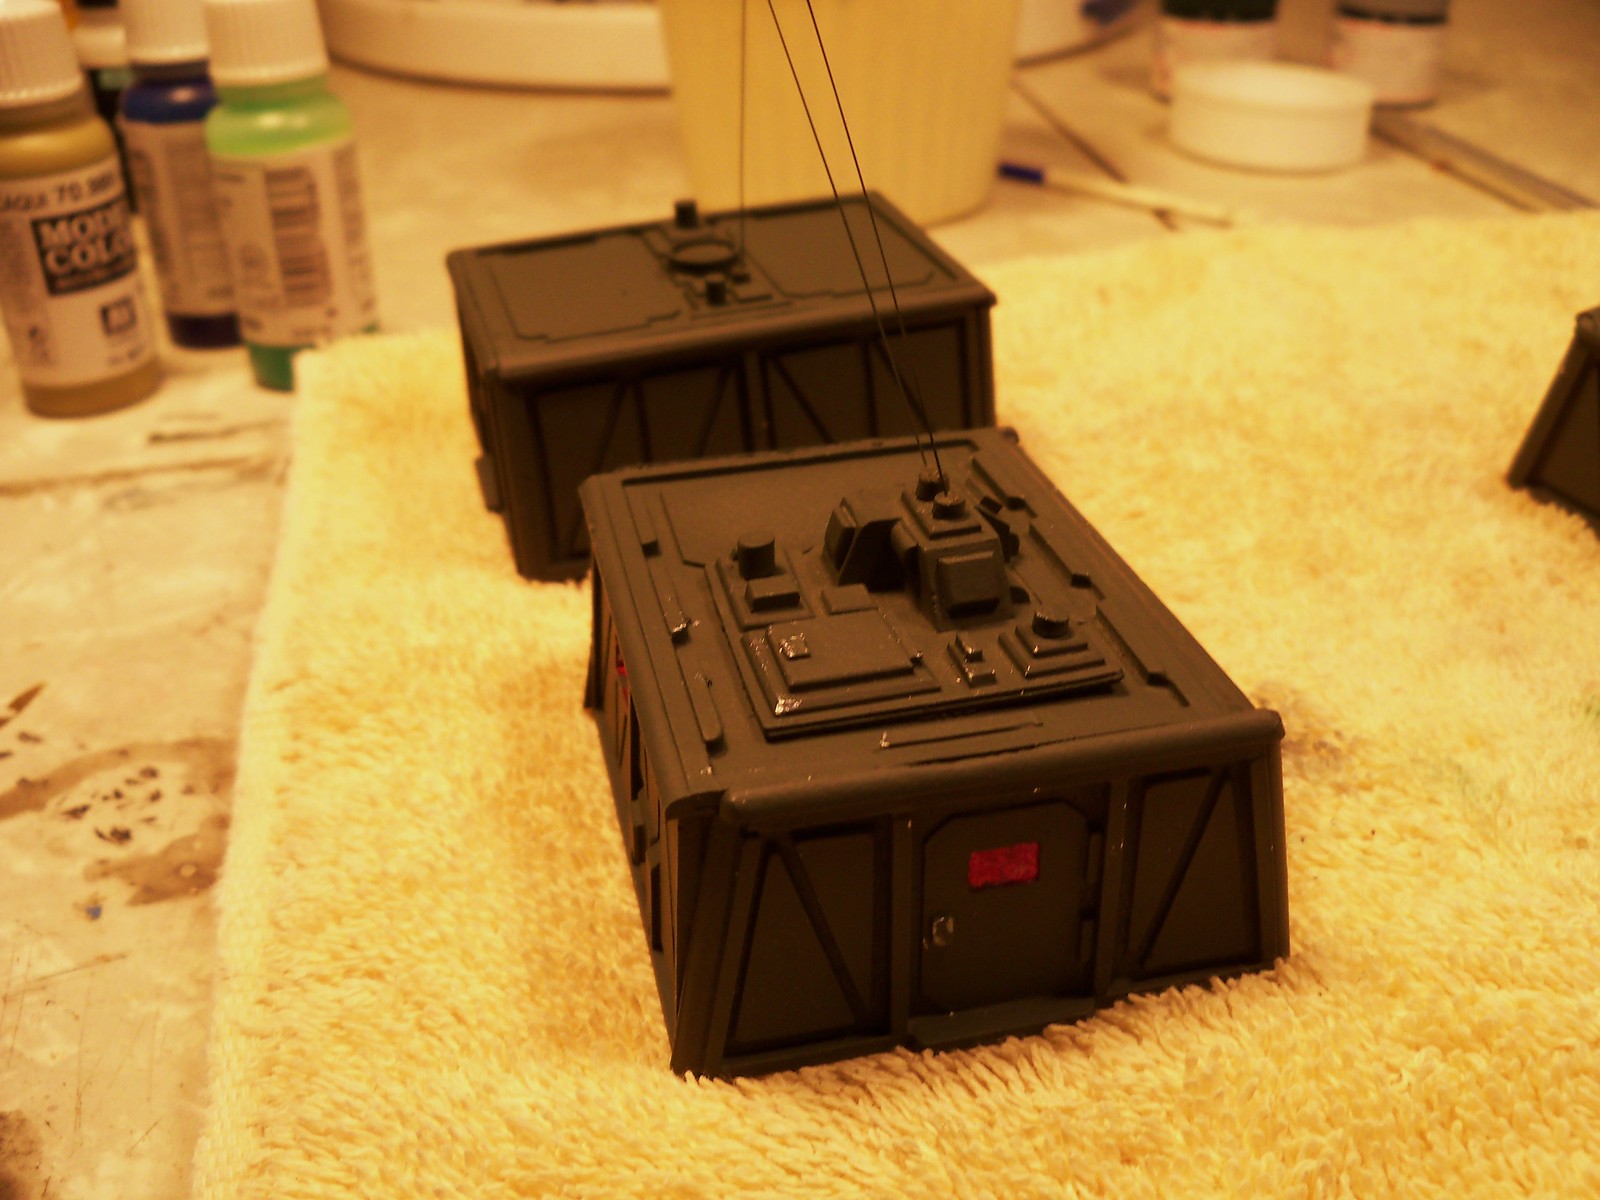
I then went on the prime all three vehicles and I pre-shaded them too.

I have to get better with my airbrush, there is a bit of splatter on the pre-shade.  I just got the airbrush and I have to work on the thickness of the paint that I am spraying and the consistency of the paint coverage. A word of warning.  Do not glue the wheels on the BTR until the vehicle is painted and the wheels are painted too.  I did not do this and it is going to be a pain to paint the wheels.  The wheels are very close to the hull of the vehicle.

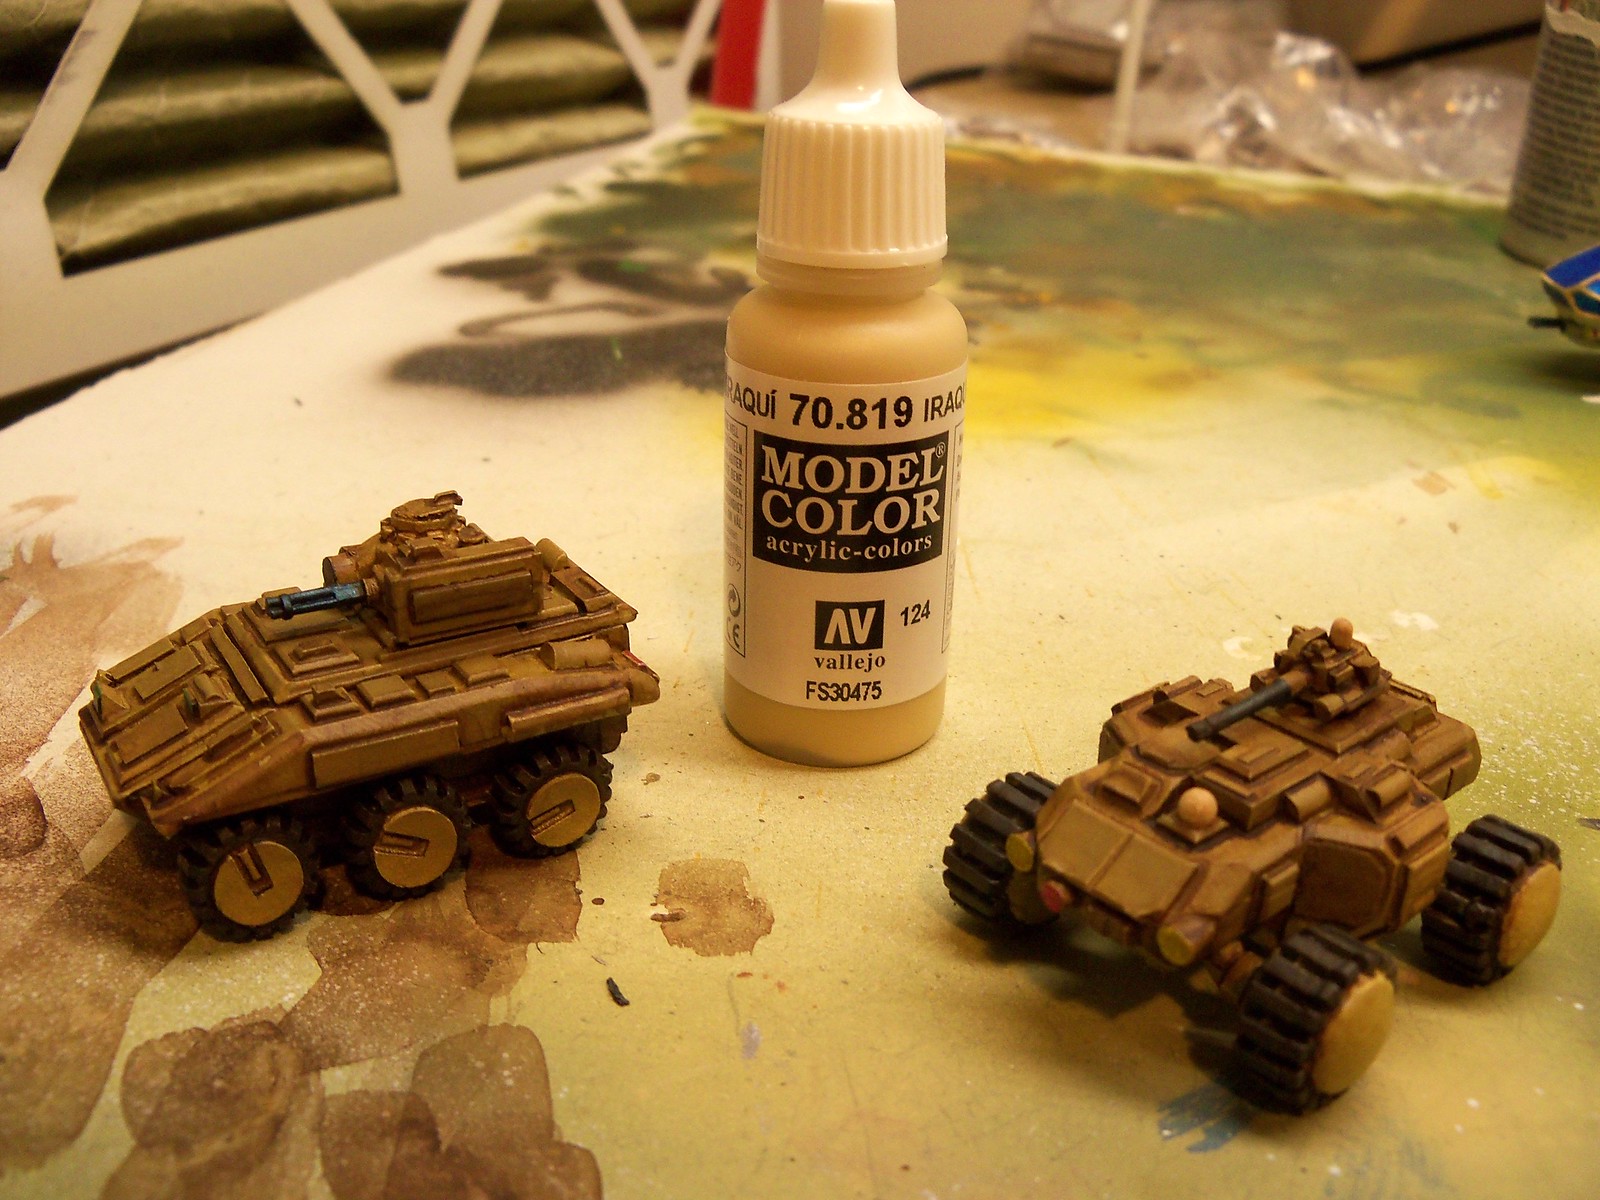
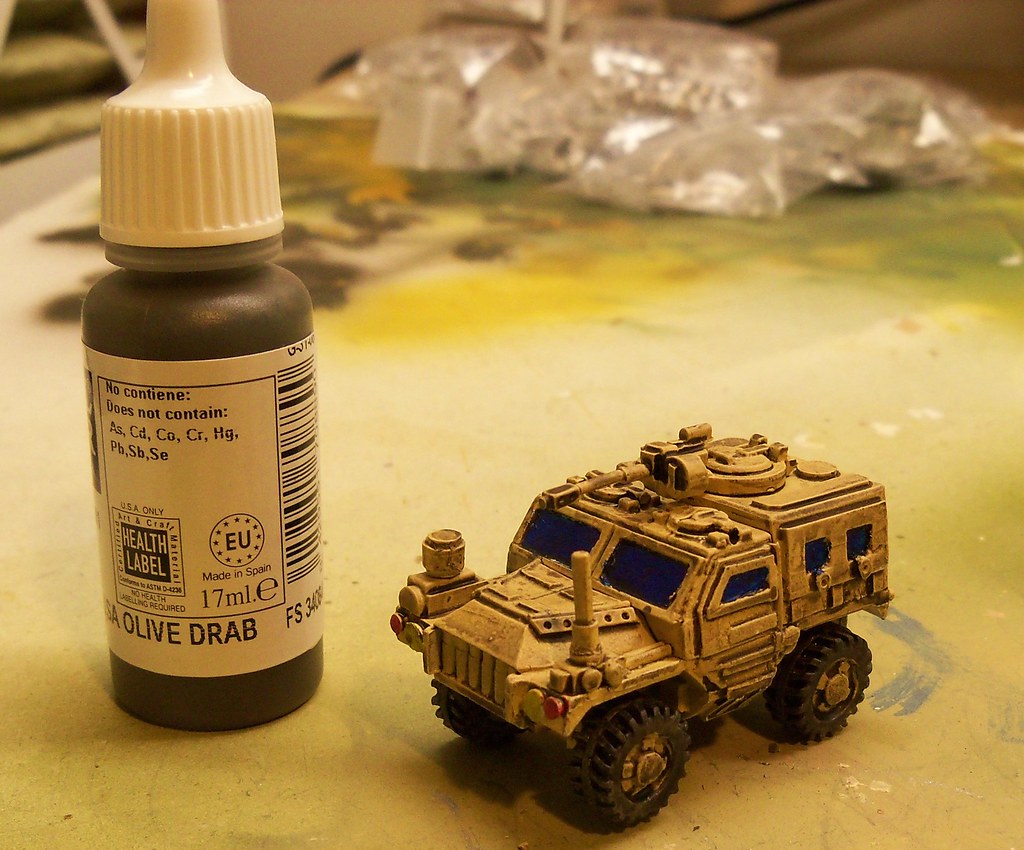
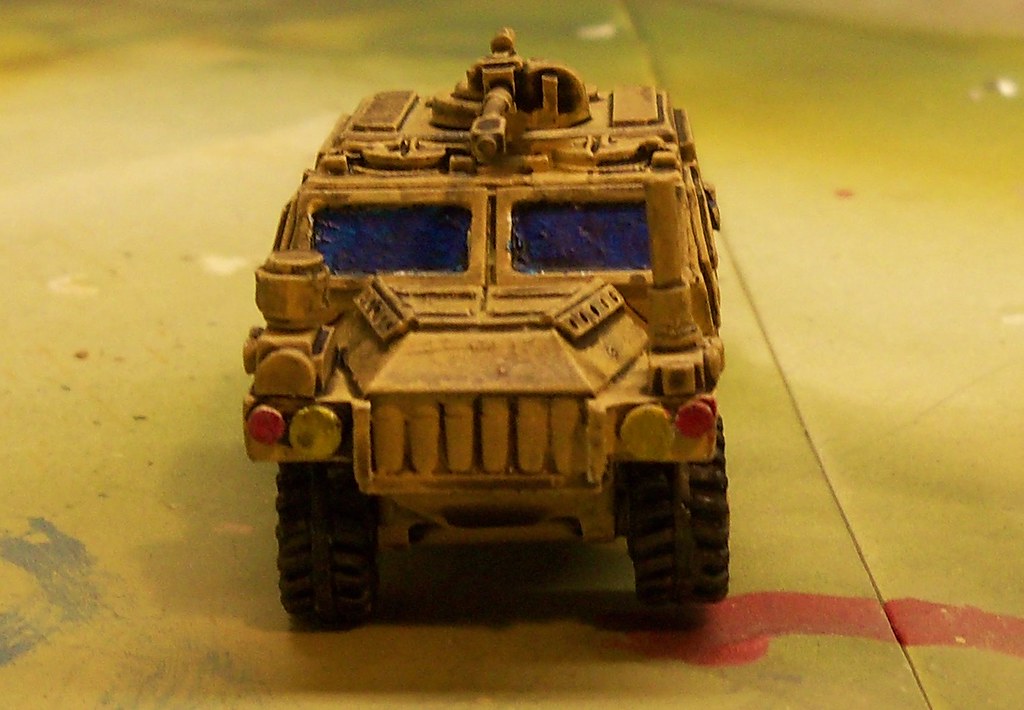
 The following photos reflect one coat of US Field drab.  It is a little hard to see the preshading.  This is both due to the photograph in general and I hard trouble with paint coverage i.e. too thick of coat.    Again this will come with practice.  You can see it best on the gun barrel.
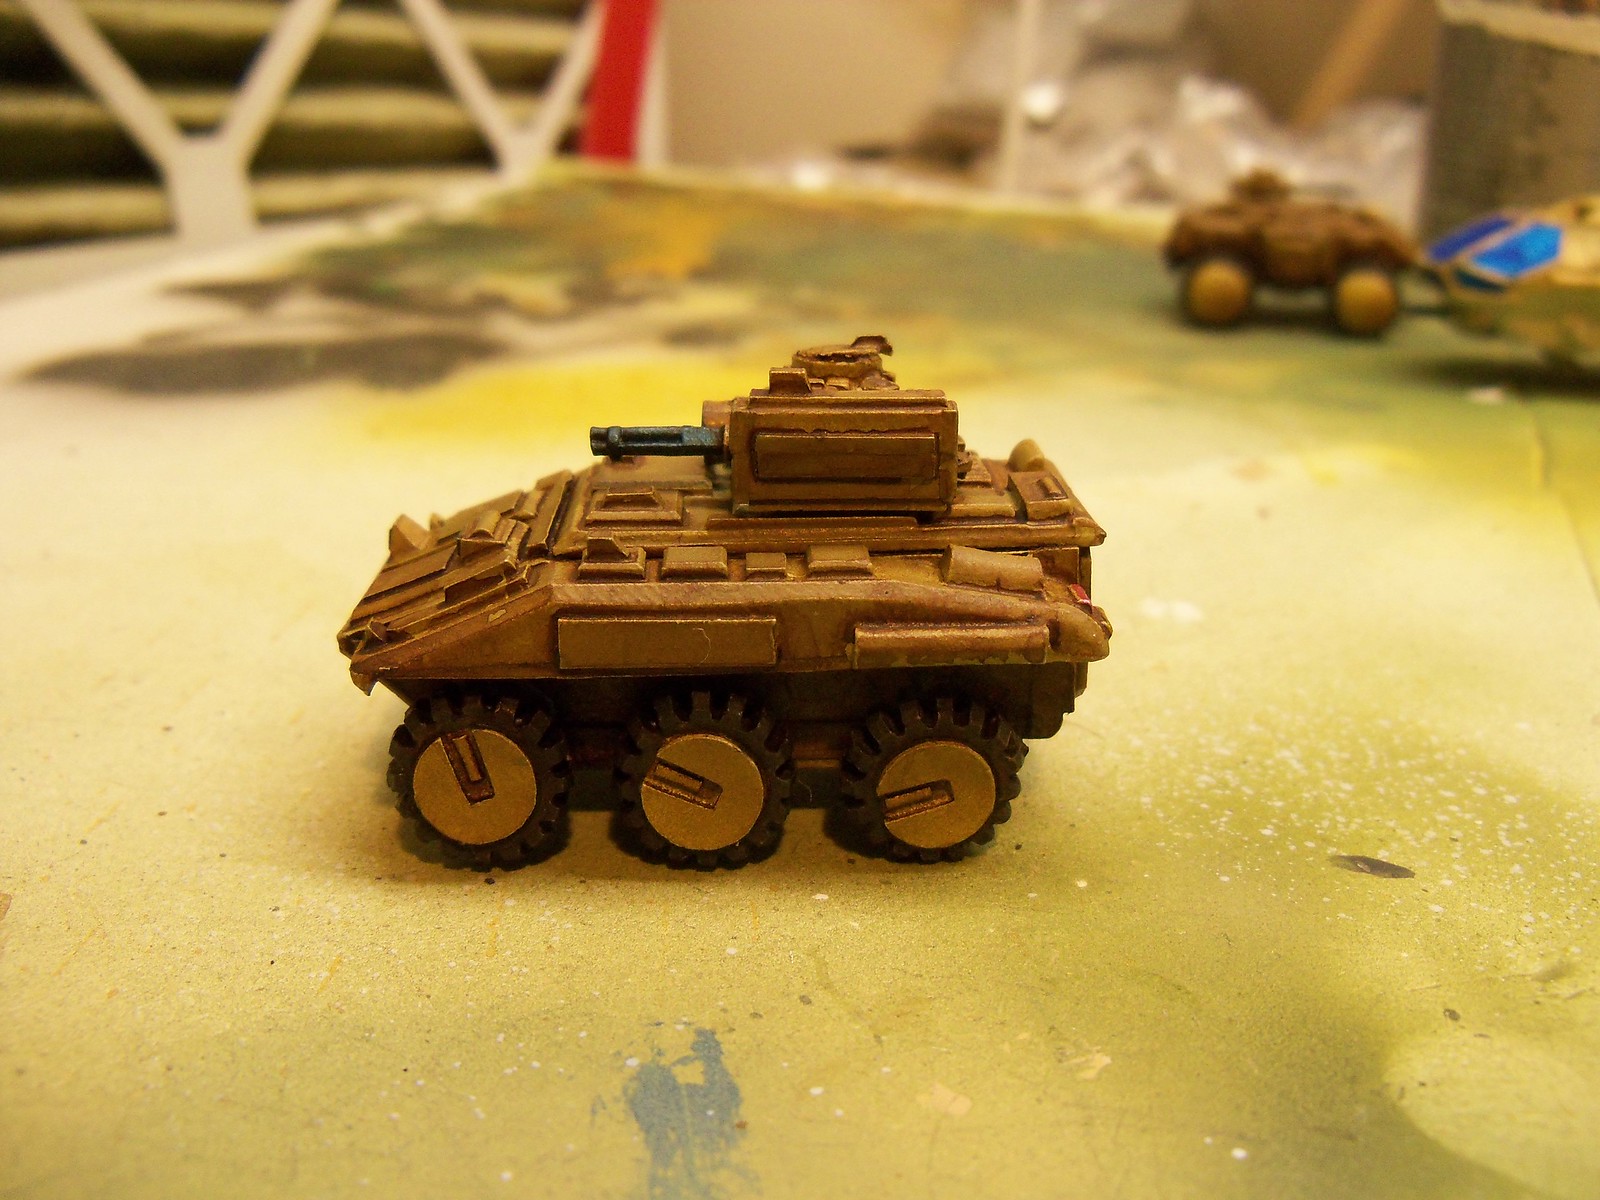
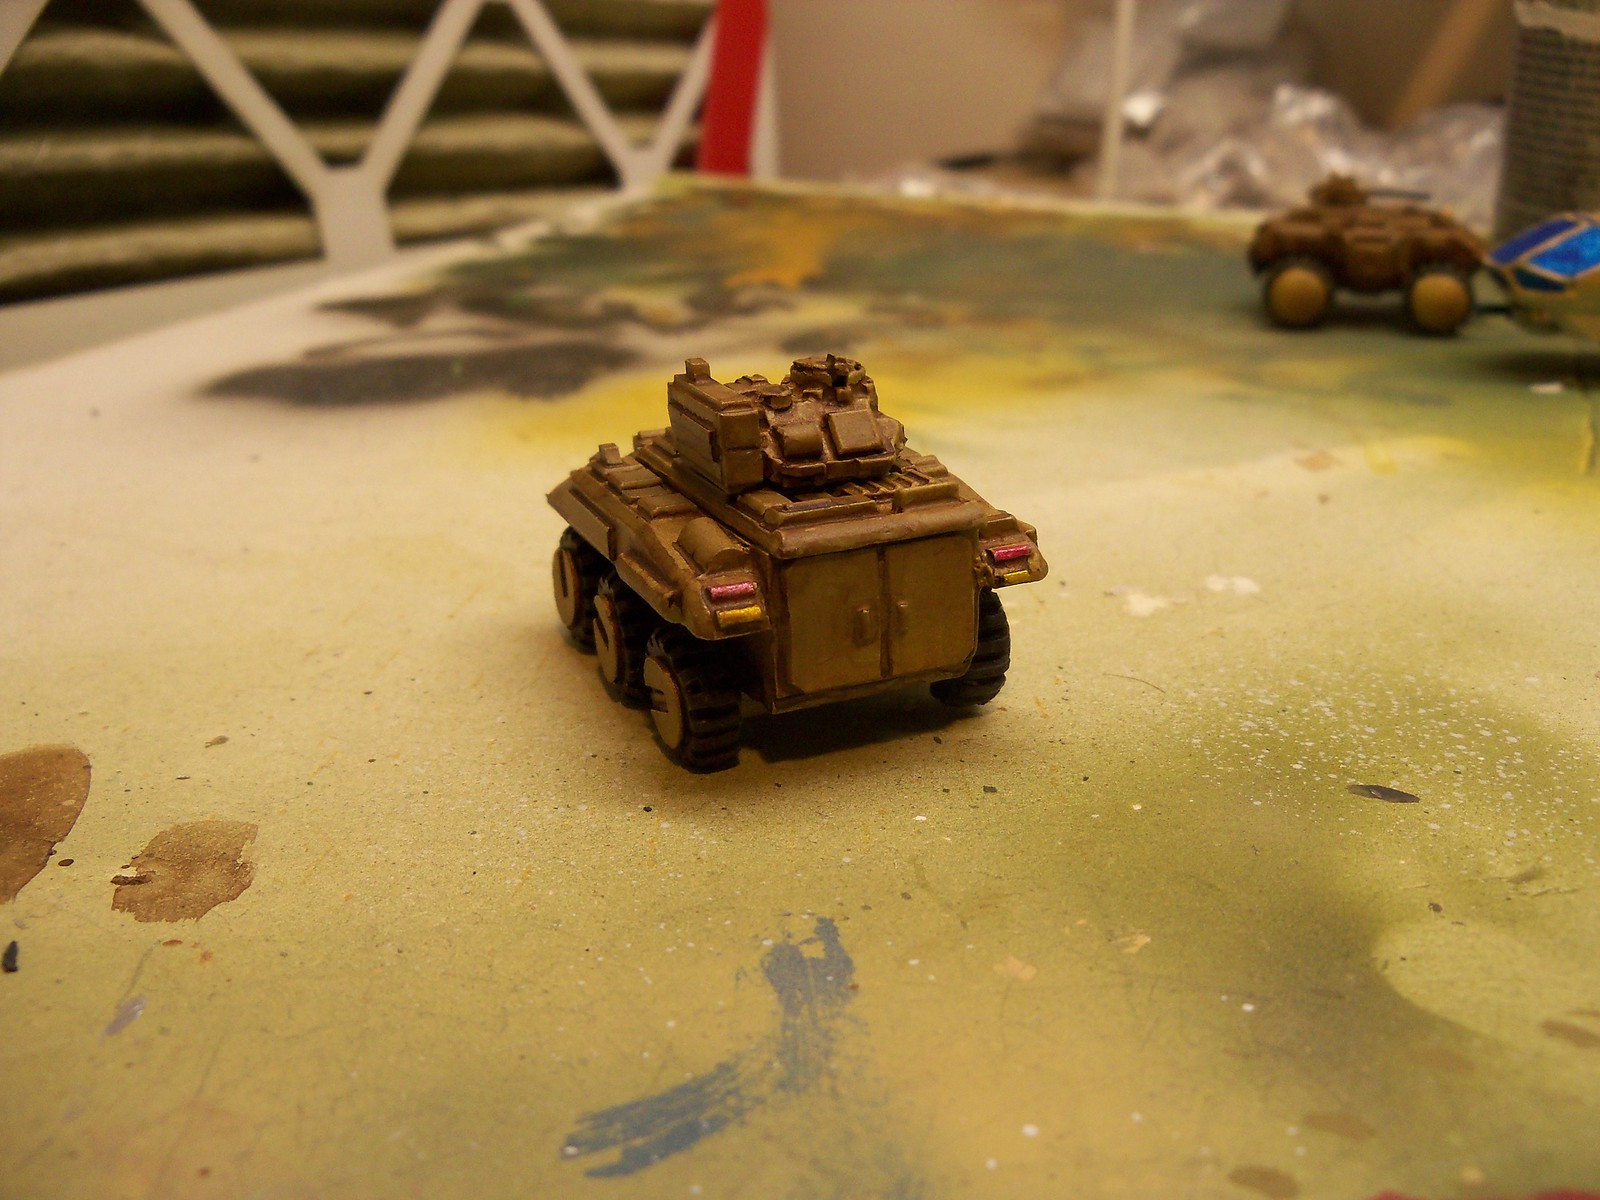
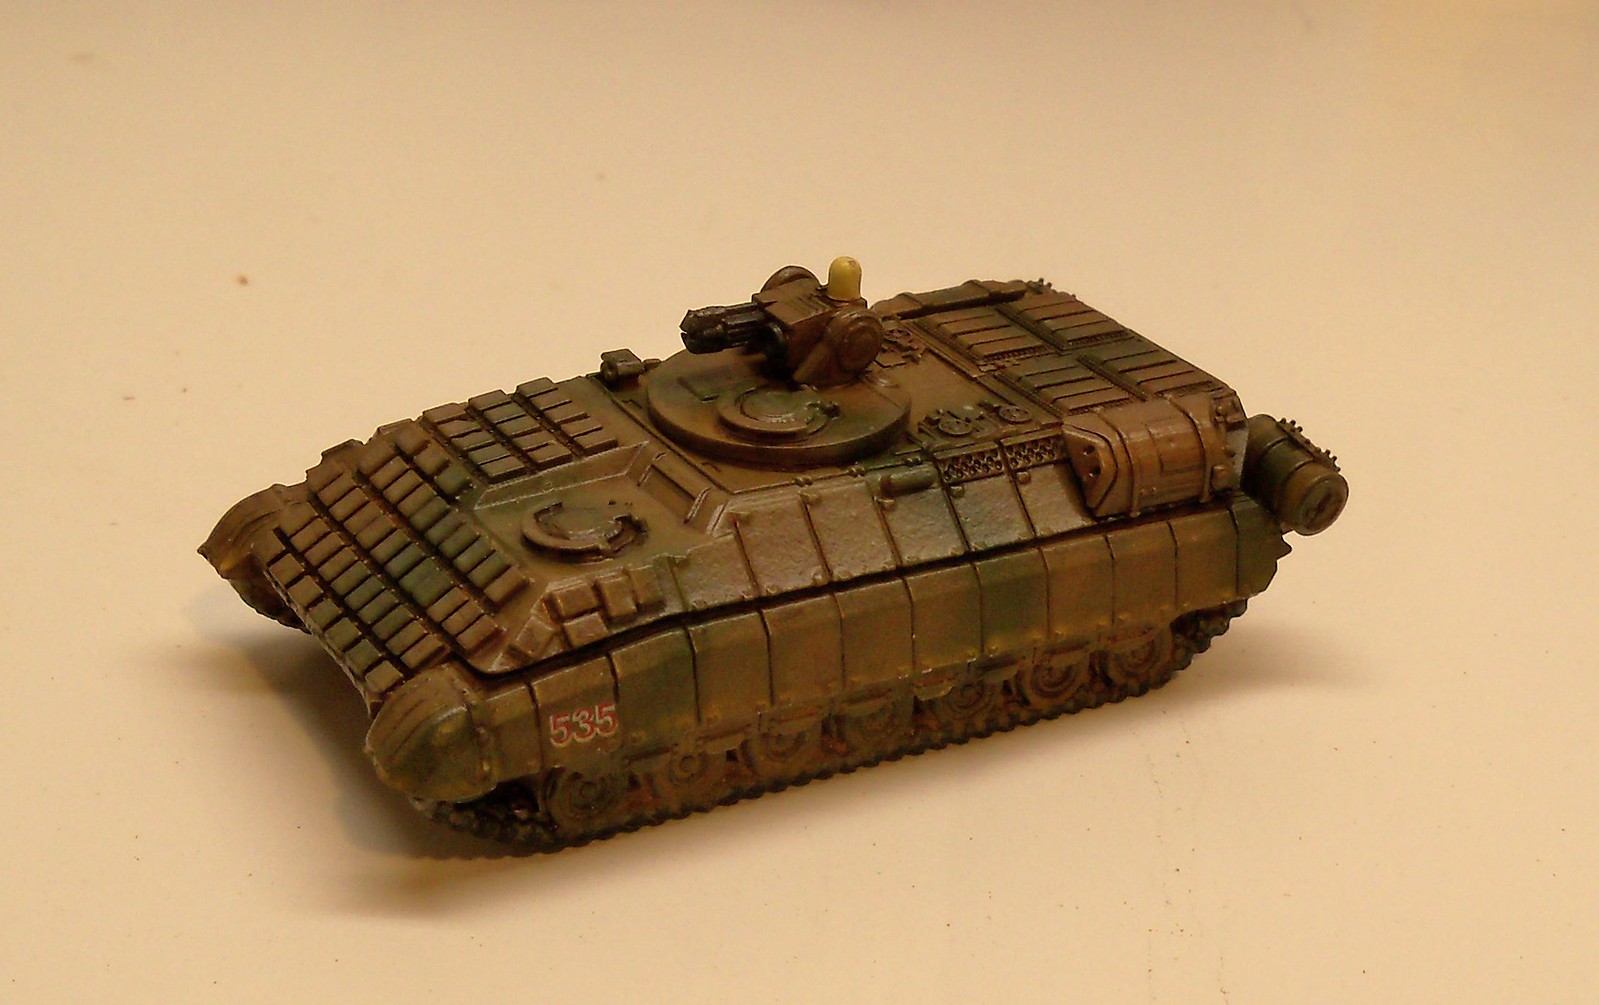
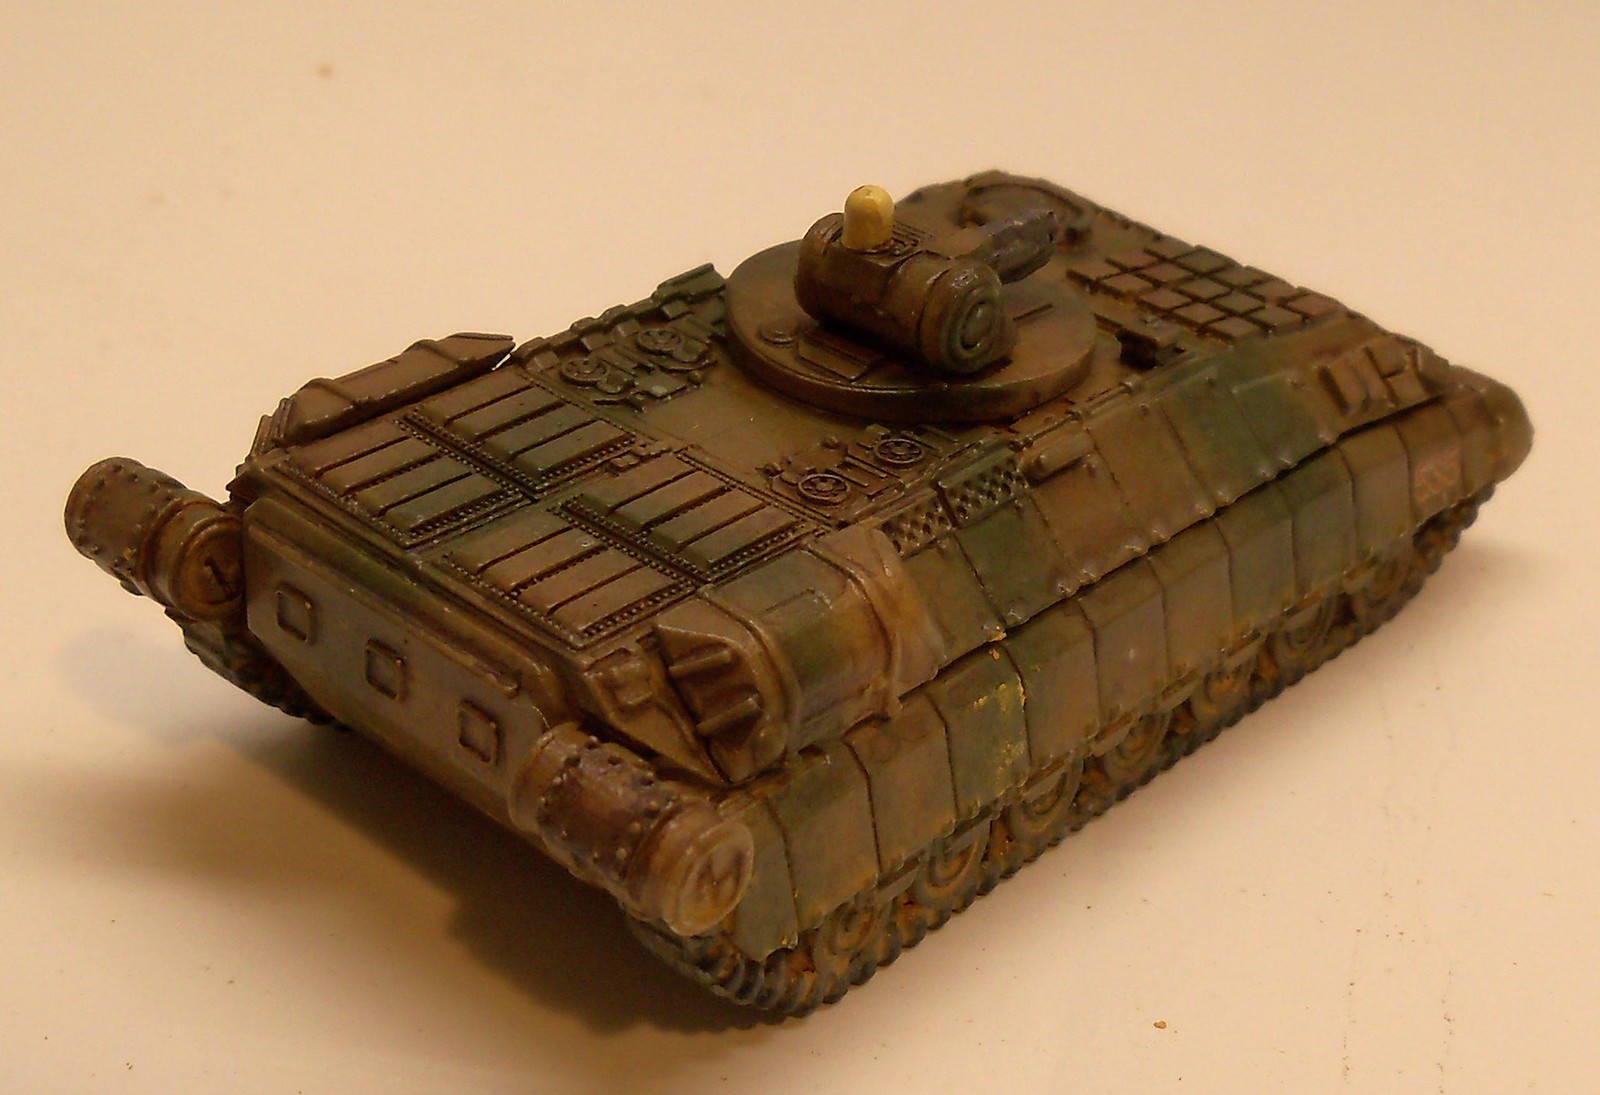
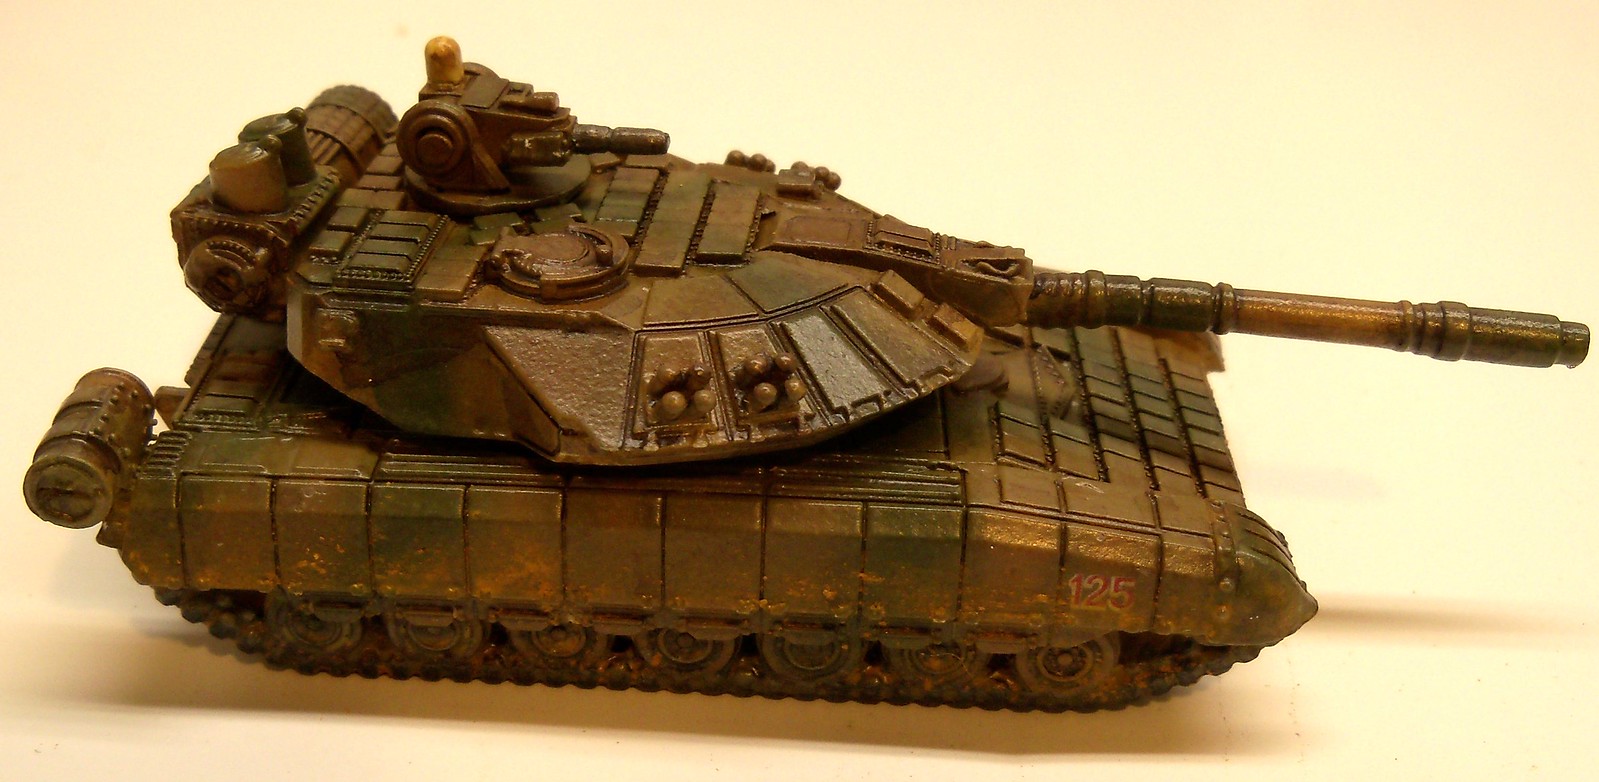
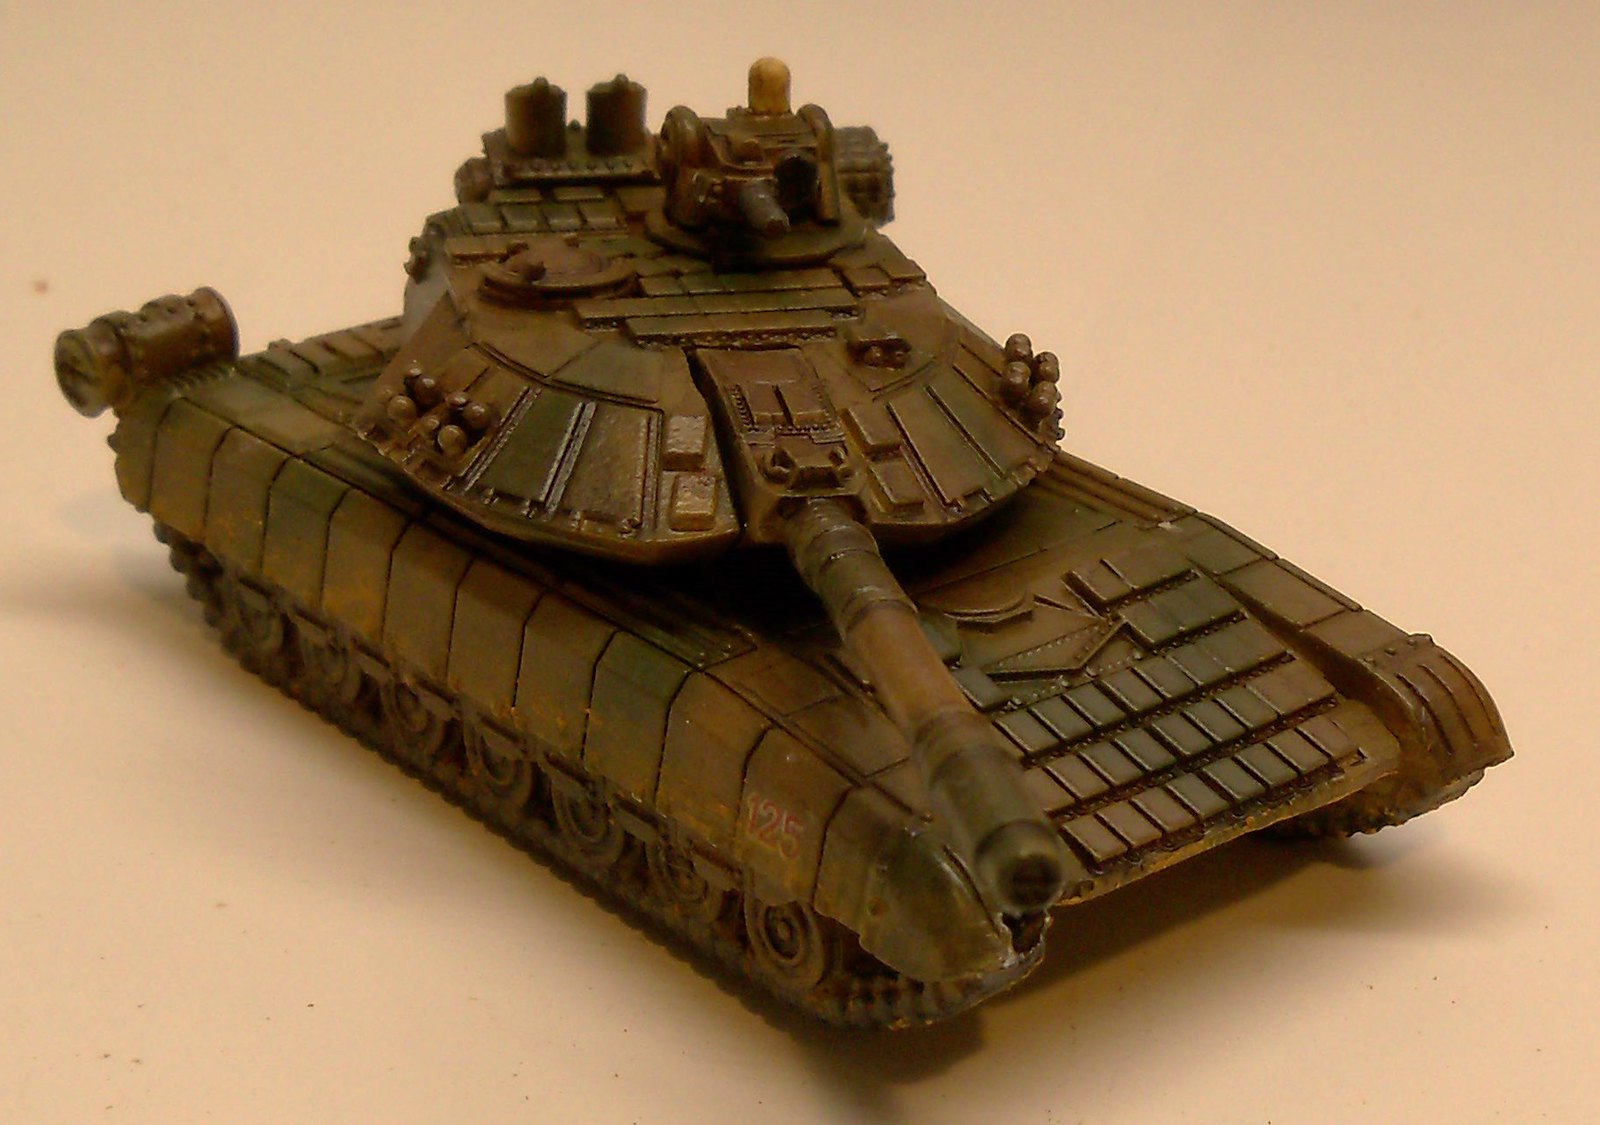
I then put lines using Vallejo Russian Green Model Air.  As a wash I used Vallejo Model Wash Dark Brown. I also used a Vallejo Pigment, Dark Yellow Ocre to make the vehicle feel a little dirty. And this will take a lot of practice to use.  I did not think I used them properly.  One side on the Drakon-T turned out ok with the pigment and I will note that photo.  For the number decals I used decals from I-94 Enterprises.

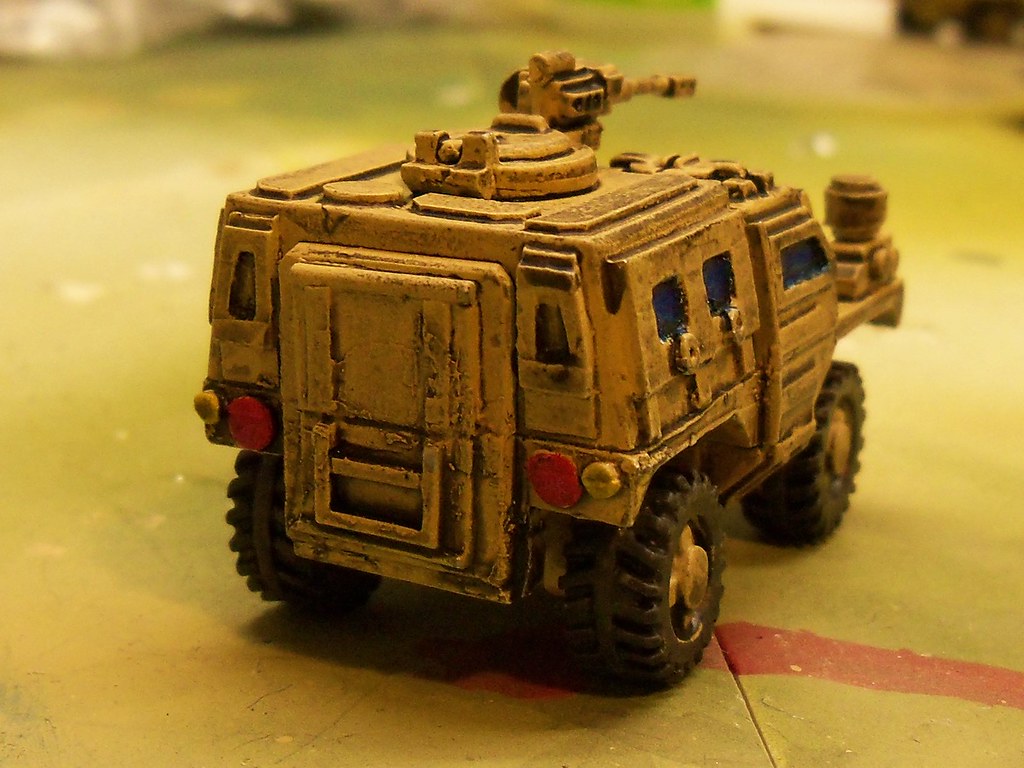
I think this was my best attempt at pigment use and it was the last side that I did.
You can see the area of battle damage in this photo.
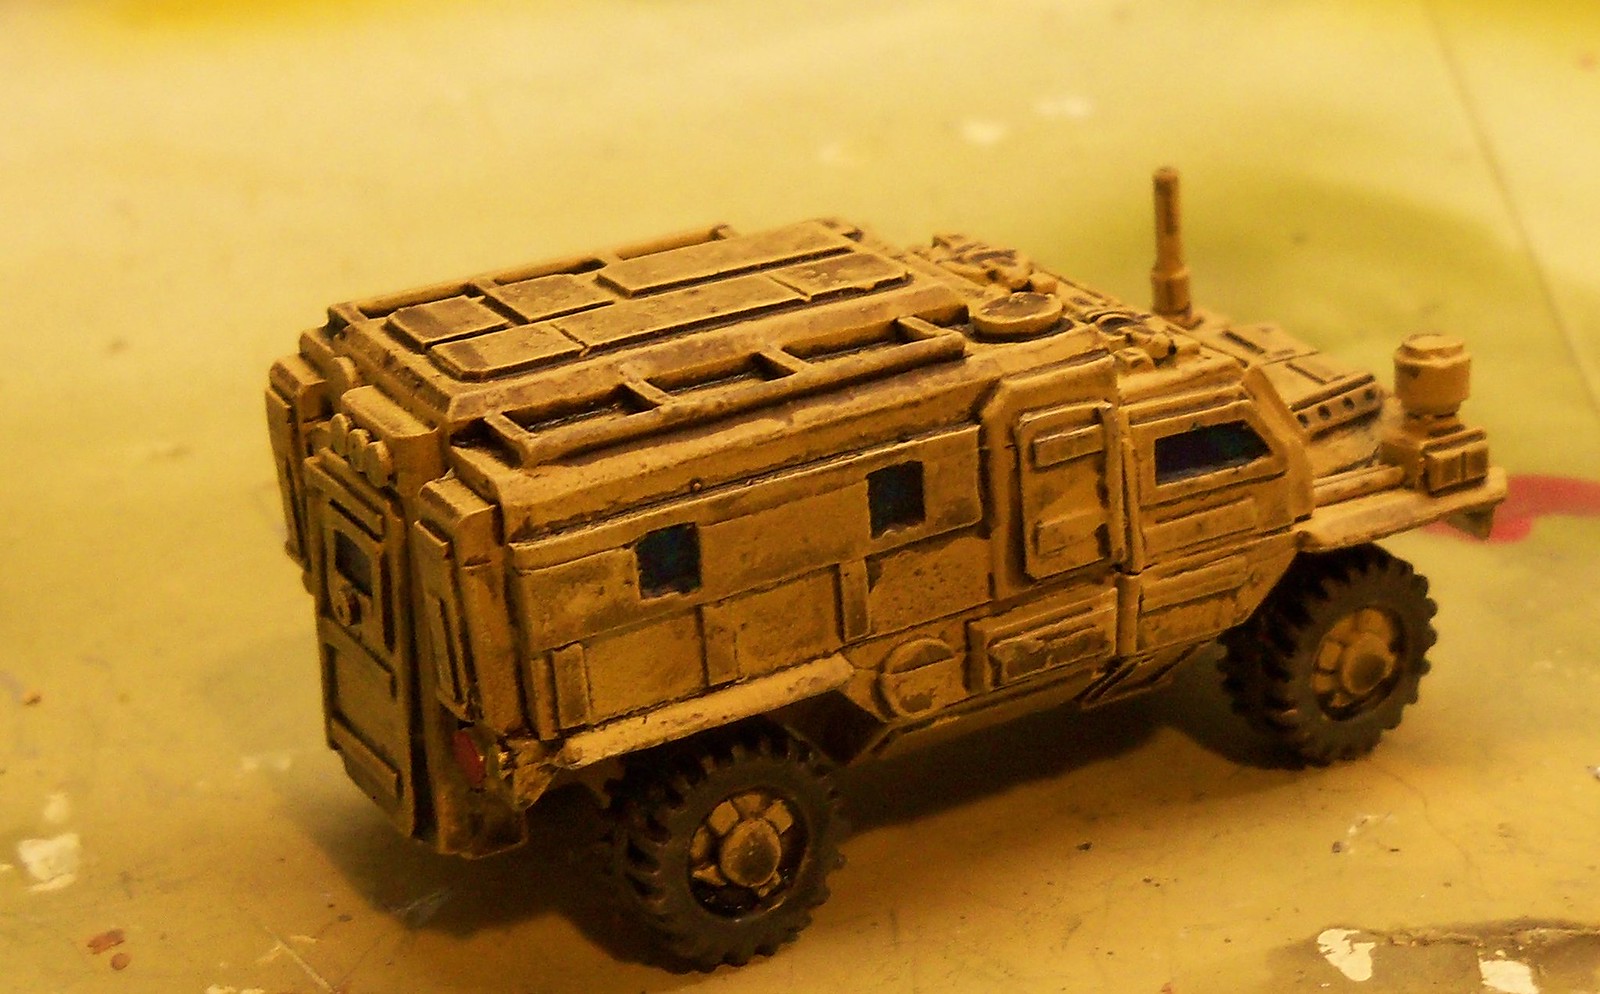
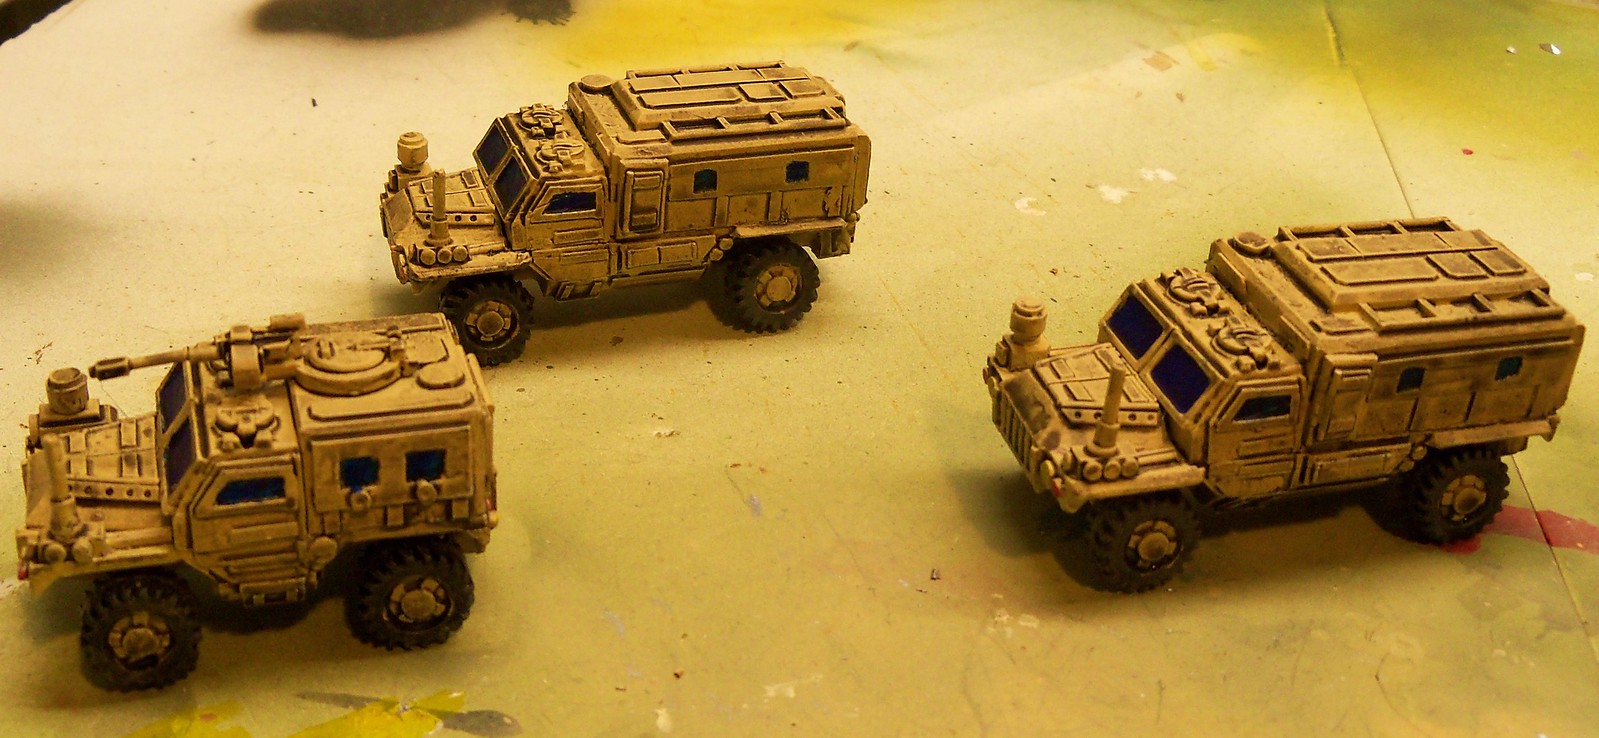
These are the first 15mm vehicles that I have ever painted and I think they turned out OK,especially as table top standards go.  There are things that I will try on the next go.  In closing, I really like these miniatures and I will be buying more Khurasan Miniatures.  I will put up a separate post on the finished BTR-3000.


As always, thank you for reading.

Mike


Tuesday, November 4, 2014

15mm Khurasan Miniature Vehicles and a thank you

As from a lot of previous posts, I mainly collect and paint 6mm/1/285/1/300 miniatures, both aircraft and vehicles.  I am now going to be delving into the world of 15mm miniatures, mainly Sci-Fi.  I am going to be using Tomorrows War by Ambush Alley Games.

 I bought a new airbrush, an Aztek.  I had a Paasche airbrush and hated it,  I had heard good things about the Aztek from my local Hobby Store, the Model Cave in Ypsilanti MI and I bought an Aztek.
Well I digress, I bought some Khurasan Miniature vehicles so I could use my new Aztek airbrush.

I bought three vehicles a  Drakon-T Advanced Tracked Tank, Grifon-T Advanced Tracked APC and a  Nova Respublik BTR3000 wheeled APC. They were shipped with care and promptly.


They are beautiful miniatures.  The Drakon-T, as you can see in the photos, has two small flash/sprue  on each track section.  To be honest, it took me about three minutes with a hobby knife and a file to take care of it. You get a bunch of bits and bobs.   You also get your choice of two different turret weapons too.


The Grifon-T had absolutely no flash and the BTR had a little bit at the end of the tires.

I had heard that Khurasan vehicles were great and they are.  I will start assembling them and painting them soon.  I will keep you updated.

As a side note.  I went over 20K hits on my blog this weekend and I want to thank you all who have read my posts.

Thank you for reading,

Mike